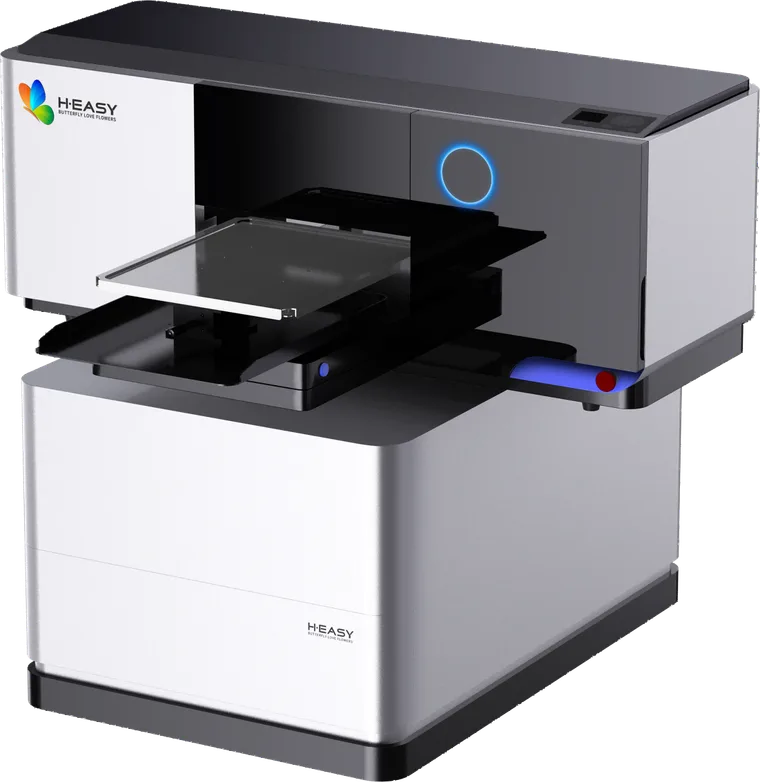
DTG Printer Maintenance Checklist for Stable Production
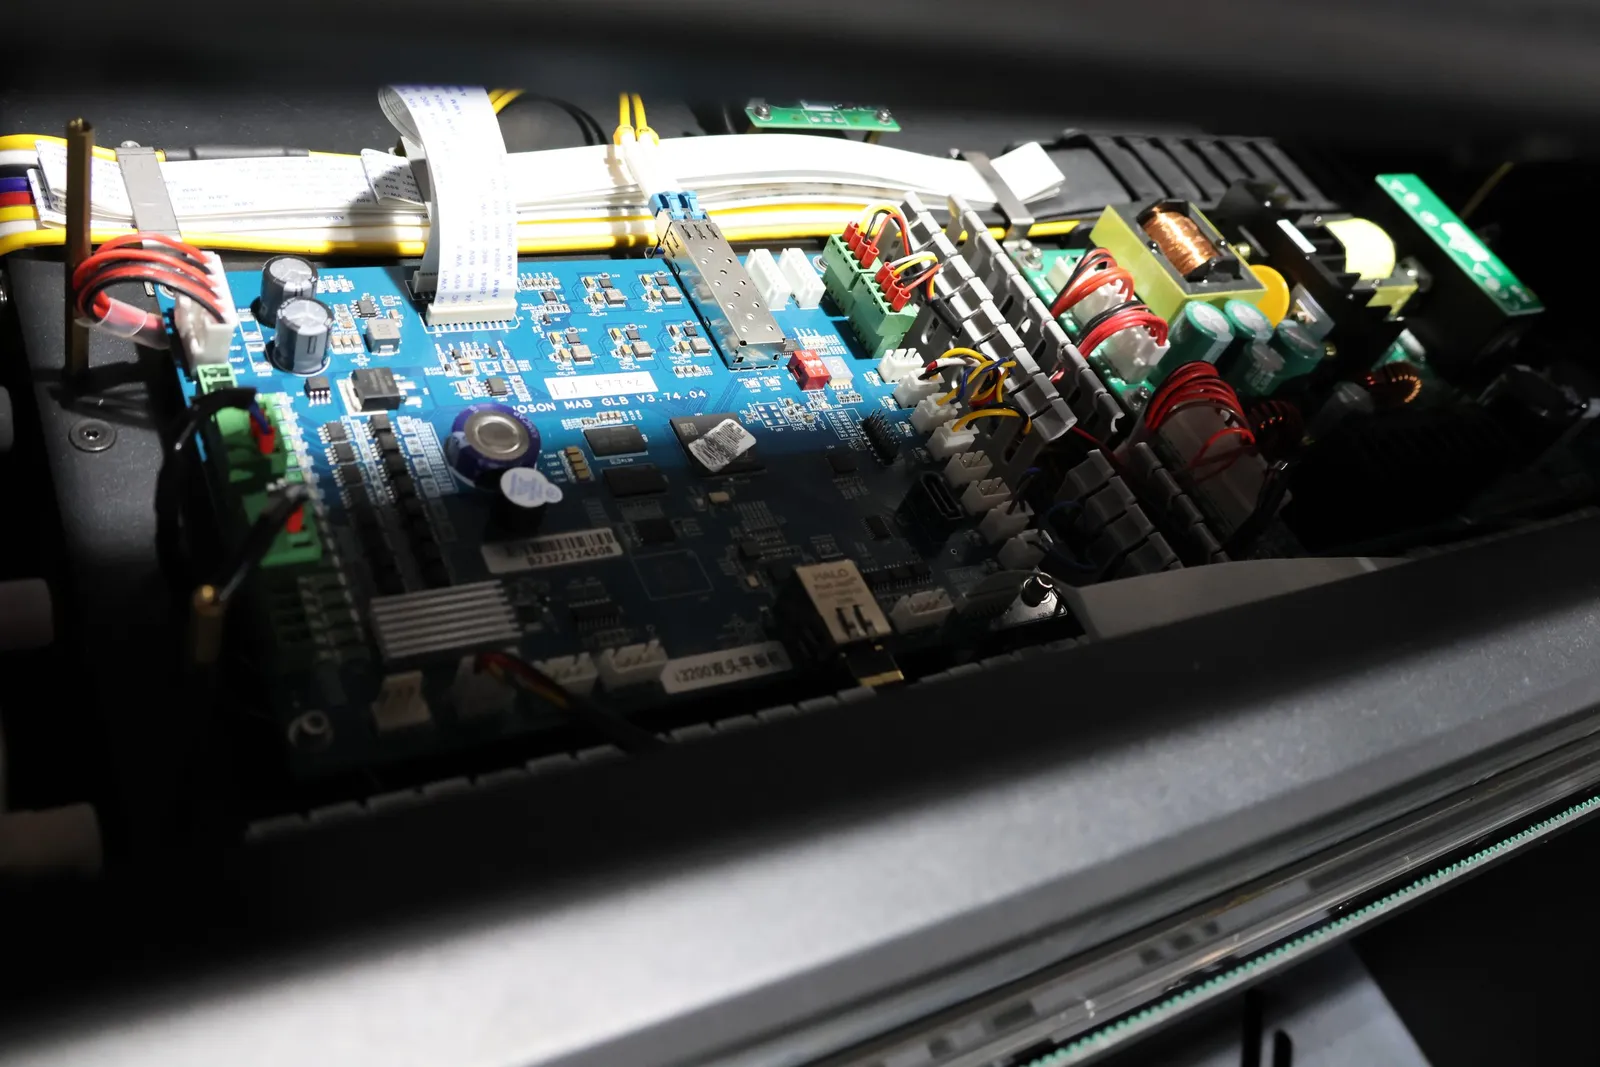
A reliable DTG maintenance routine protects print quality by keeping the ink path, capping system, platen and motion system in a known condition. The goal is not to clean as aggressively as possible. It is to detect change early, use the model-approved response and stop before an operator-level issue becomes a service problem.
This checklist is deliberately model-neutral. The machine manual and the ink supplier’s handling instructions remain the authority for fluids, access points, shutdown procedures and replacement parts. If a step below conflicts with those documents, follow the documents for the installed machine.
Start with a known-good reference
Maintenance decisions are easier when the shop keeps evidence from a stable run. Save an approved nozzle check, alignment pattern and representative print beside the job settings. Operators can then compare a new result with a real baseline instead of deciding whether a pattern merely looks acceptable.
The maintenance log should connect the symptom, the action and the result. Note which ink channel was affected, whether the fault was present at startup or appeared during production, what approved routine was run and whether the next check improved. That sequence helps a technician distinguish a recurring ink-path fault from a one-off contaminated nozzle.
Pre-production inspection
Run the same short inspection before releasing a customer job:
- Confirm that the printer reports no unresolved alarm and that guards, covers and service doors are in their operating position.
- Inspect visible ink containers, lines and connectors for leaks, loose fittings, bubbles or unusual separation. Do not open a pressurized or protected part of the system to investigate.
- Run the approved white-ink agitation or circulation routine. White pigment can settle while the machine is idle, so stable movement through the intended circuit matters before a white underbase is printed.
- Check that the platen is clean, correctly fitted and free of lint, cured ink or adhesive residue that could lift the garment toward the carriage.
- Print a nozzle check and compare it with the approved reference. If the pattern is incomplete, diagnose it before loading production artwork.
Read the nozzle pattern before cleaning
A nozzle check is not just a pass-or-fail ticket. Its pattern helps determine what to inspect next.
Scattered missing marks that change position after an approved clean can be consistent with contamination or temporary air movement. A stable block of missing marks may point to a cap seal, damper, line or channel problem. A fault that returns after every apparent recovery suggests that the cause is upstream of the nozzle plate rather than dried ink at the exit.
Use the cleaning level specified by the machine manual and verify the result with another nozzle check. Repeating stronger cycles without a diagnostic change wastes ink and can load the maintenance system with fluid. If the same pattern persists, stop escalating cleaning and inspect the supported operator-accessible areas or call service.
Care for the cap, wiper and maintenance area
The cap and wiper influence how well a head recovers, even though neither prints the image. A contaminated cap may not seal evenly during suction or idle protection. A wiper with dried residue can drag contamination across the area it is meant to clean.
Power and park the machine exactly as its manual requires before approaching these parts. Use only the approved lint-free material and matched maintenance fluid. Remove loose lint and wet residue from accessible surfaces without forcing tools into seals, tubes or the carriage path. Replace a visibly damaged or hardened consumable through the documented service procedure rather than trying to restore it with an improvised solvent.
Do not turn this into a generic instruction to wipe the printhead. The nozzle plate is a precision surface, and contact, pressure or incompatible fluid can cause permanent damage. Touch it only when the machine’s own procedure clearly authorizes the task and specifies how it must be done.
Keep the ink path observable
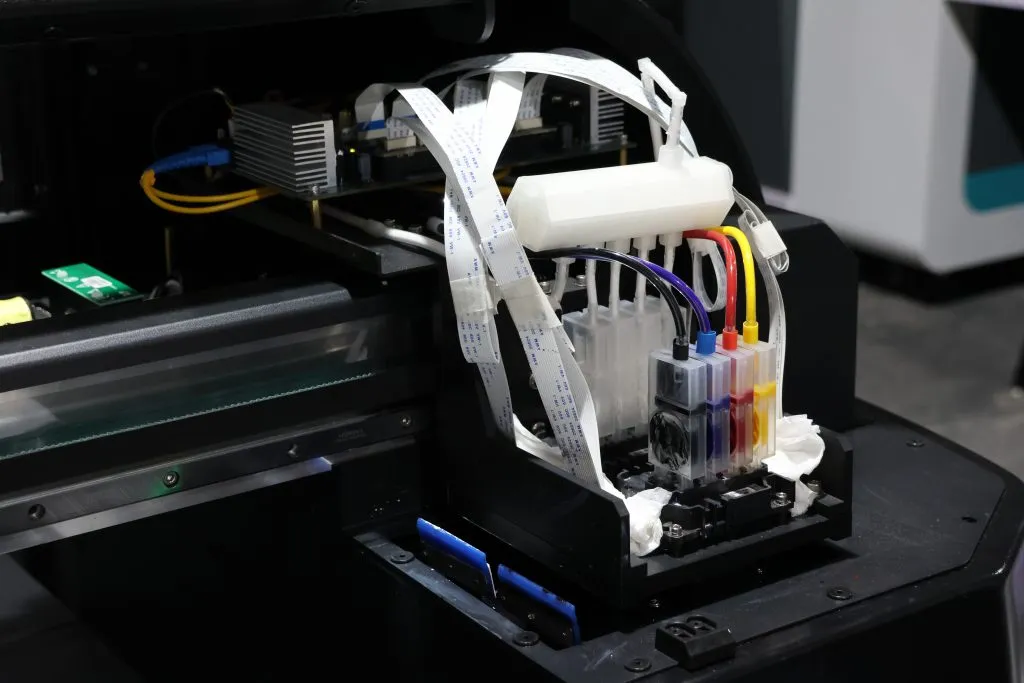
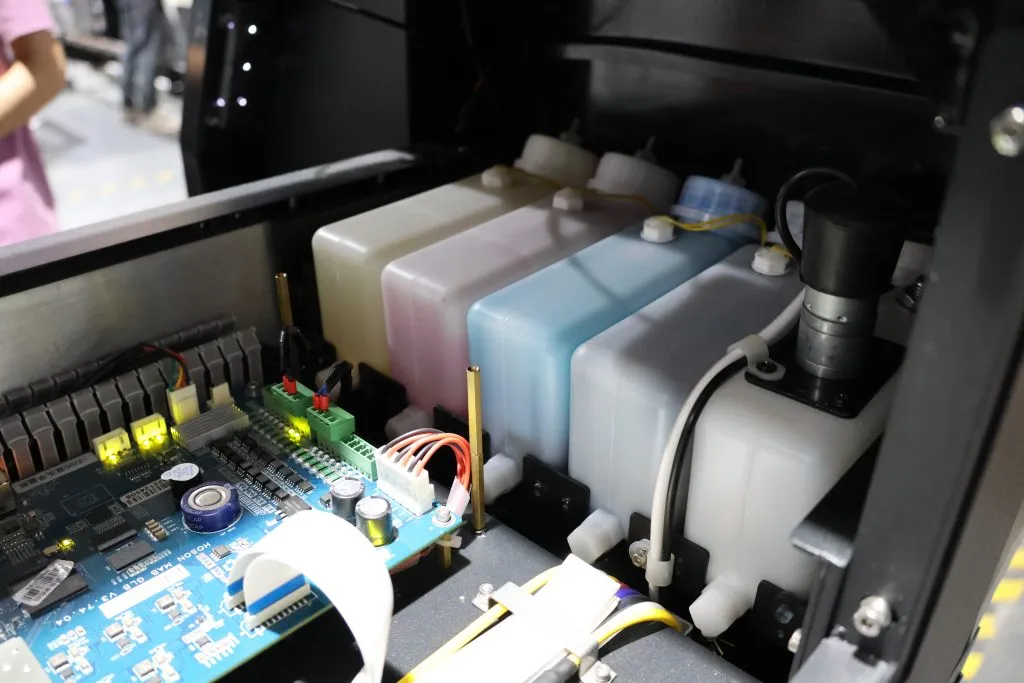
Ink delivery faults often announce themselves before print quality collapses. Look for a new air gap, a line that no longer fills like its neighbors, leakage around a connector, or pigment that remains separated after the approved circulation routine. These observations belong in the maintenance log because they help service staff trace a fault without guessing.
Avoid mixing cleaning fluid, ink or replacement parts simply because they fit. Compatibility depends on the installed ink chemistry and the materials in the path. Use the supplies approved for the machine and ink set, and keep containers closed and identified so contamination is not introduced during routine care.
Clean the platen and garment path
Lint, pretreatment residue and transferred ink on the platen can affect both placement and head clearance. Remove them with the platen material’s approved method, then verify that the surface is dry and correctly seated before loading a garment.
Inspect the garment path at the same time. A raised seam, loose sleeve or curled edge can enter the carriage path even when the platen itself is clean. Secure the garment using the machine’s normal loading method and confirm clearance before printing. Pretreatment should also be dry and even; the DTG pretreatment guide explains why an unstable surface can resemble a printer fault.
Protect motion and electronics from maintenance work
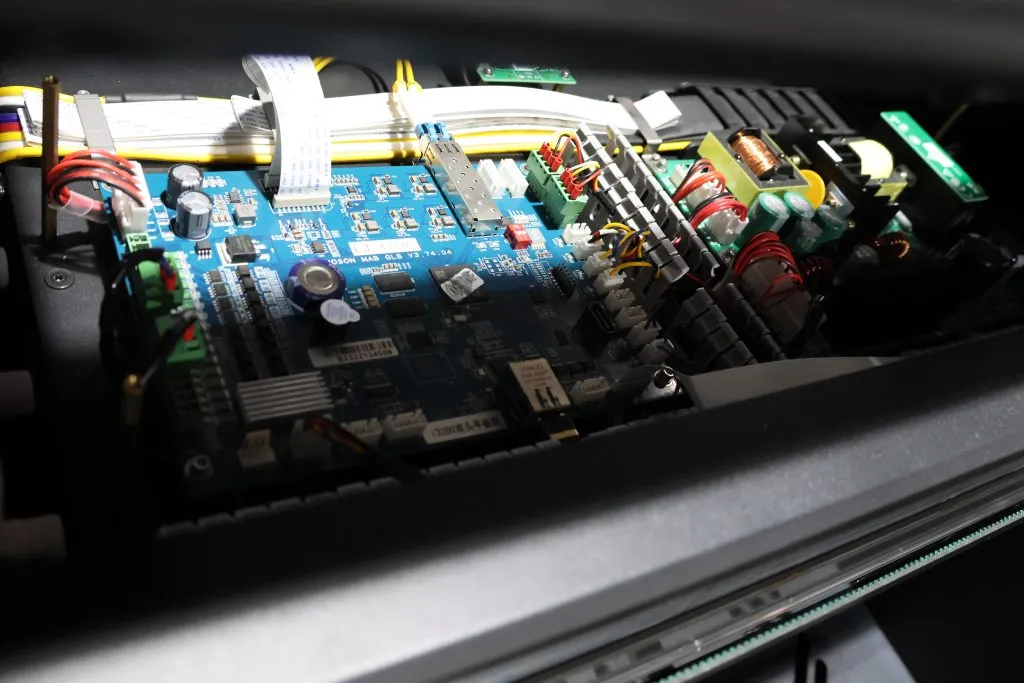
Carriage rails, encoder components, cables and control boards should not become casual cleaning targets. Ink mist or lint near a sensor can affect positioning, but an unsuitable cloth, solvent or lubricant can create a worse fault. Inspect for visible contamination and abnormal movement, then follow the specific service instruction for that component.
Do not install firmware or drivers merely because a newer file exists. Record the validated production version, read the release guidance and confirm machine, controller and workflow compatibility before changing it. A maintenance window should preserve a known working configuration, not introduce an untested one.
Use symptoms to choose the next action
| Production symptom | First checks | Escalate when |
|---|---|---|
| Missing marks in one ink channel | Nozzle pattern, visible line condition, cap and wiper area | The same pattern persists after the approved recovery routine |
| White coverage changes during a run | White-ink movement, supply condition and recorded idle procedure | Circulation does not restore a stable supply |
| Image placement shifts | Platen seating, garment loading and visible carriage-path contamination | Motion is abnormal or model-specific calibration does not hold |
| Ink appears around the machine | Container, line and connector location without opening protected parts | Any active leak or unknown fluid path is found |
| Repeated head strikes | Garment loading, raised seams, platen seating and clearance | The carriage or height system behaves unpredictably |
The important habit is to change one supported variable at a time and print a new check. If several adjustments are made together, the log cannot show what actually fixed the fault and the next operator has no repeatable procedure.
End-of-production handoff
Leave the printer in the shutdown or idle state specified for its expected downtime. Confirm that the head is parked and protected, waste and maintenance areas are within their operating condition, ink circulation settings are where the approved procedure expects them, and the platen and work area are ready for the next operator.
Attach the last nozzle check to the shift record when the result changed during the run. A clean handoff lets the next shift distinguish a machine that was left healthy from one already showing a developing fault.
Turn maintenance into a production control
The best checklist is short enough to be used and specific enough to trigger a clear response. Define what the operator may clean, what evidence must be kept and which conditions require service. Review the record for recurring channels, parts or garment-loading problems instead of treating every interruption as an isolated clog.
For shops planning a cotton and cotton-rich garment workflow, the current DTG printer page shows the relevant production platform. Pair equipment selection with the broader custom T-shirt production guide so maintenance access, pretreatment and curing are considered when choosing the production route.