DTF on Jerseys, Denim and Canvas: Material Tests Before Production
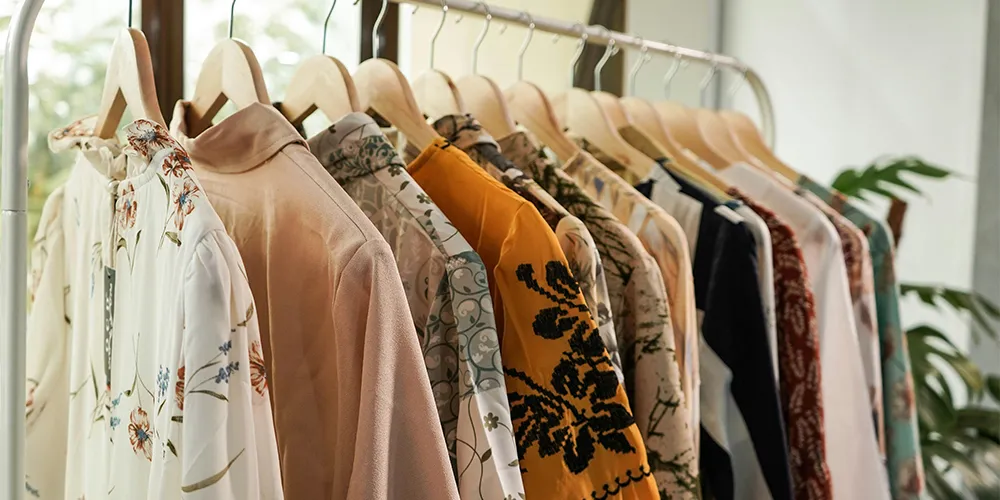
DTF can decorate jerseys, denim and canvas, provided the exact garment and transfer system pass a production trial. Film printing alone is not the acceptance point: the buyer needs an approved decoration after transfer, movement and the intended care process.
A useful trial identifies the garment, ink, film, adhesive powder, print mode, curing route and heat press together. Changing one of these can require another approval. Use this guide to plan the material test, rather than applying one press recipe to every item with the same fabric label.
Confirm the garment before choosing the transfer
Ask for the fiber composition, garment supplier and article, colorway, fabric lot, finish, care label and decoration location. Jersey identifies a knit construction; it does not tell you whether the garment is cotton, polyester or an elastic blend. Likewise, a denim jacket or canvas bag may contain synthetic fibers or a surface treatment that matters to the transfer.
Roland’s manufacturer documentation gives DTF examples on cotton, polyester and denim, and describes a coordinated printer, ink, film and powder workflow. That supports considering DTF for these jobs. It does not qualify an unrelated ink or powder, or every coated fabric sold under the same material name.
| Application | What the trial must resolve | Sample to keep |
|---|---|---|
| Jersey | Stretch recovery, heat marks and dye migration where relevant | Finished logo on the actual garment color and print location |
| Denim | Contact around seams, edge adhesion and the effect of garment finishes | Decoration on a production garment, not only a loose flat swatch |
| Canvas | Surface texture, coating compatibility and pressure at the intended position | Finished bag or panel with the same construction and finish |
Jerseys: test movement and the garment dye separately
Use the actual jersey panel, including the most demanding intended colorways. For sportswear, include the solid white or pale parts of a logo in the trial, so a change from the garment dye is easy to inspect.
STAHLS’ heat-decoration handbook distinguishes opacity from dye migration. Garment color showing through a thin print and garment dye entering a transfer are different failure mechanisms. Migration can appear after the initial press and can vary by lot. This is a relevant risk to assess when qualifying DTF on polyester jerseys; the handbook does not certify a particular DTF film or powder as a dye blocker.
Keep a control garment and the pressed sample. Inspect after cooling, after an agreed waiting period and after the agreed care test. Photograph the same areas under the same lighting. If the supplier proposes a lower-temperature or blocking transfer, obtain its material compatibility and application instructions and repeat the whole test. An opaque white backing is not, by itself, evidence of dye blocking.
For elastic jerseys, stretch the decorated area as it moves in use, then let it recover. Look for edge lifting, visible cracking, permanent distortion and an unacceptable stiff area. Agree the movement test and acceptable appearance with the buyer before ordering the batch. A successful cotton print is not a substitute for this sportswear approval.
Denim: qualify the actual construction and placement
A flat swatch can conceal the difficulty of printing near pockets, seams, stitching or rivets. Trial the intended logo position on a real garment and check whether the press can make even contact without loading a raised seam. Use press-maker-approved platens or support accessories where required.
Include a transfer with small lettering, a solid area and a thin edge. Inspect for unbonded edges and interruptions over the texture. Compare the unprinted control with the trial for press marks or finish changes. If the garment is stretch denim, add the movement check used for elastic jerseys.
Do not prescribe extra pressure or a longer dwell solely because the garment is denim. Confirm the transfer instructions and garment limits, then vary only an allowed setting at a time. Keep the failed sample as well as the accepted one so the reason for approval remains visible.
Canvas: check texture, finishes and access to the print area
Confirm whether the canvas is unfinished, coated or treated for a particular use. Ask the garment and transfer suppliers about the named finish instead of assuming that all canvas accepts the same adhesive.
Bags also introduce practical constraints: handles, hems, pockets, linings and hardware may prevent the intended panel from lying flat. Demonstrate loading and pressing at the actual decoration location. Check fine edges and lettering on the surface texture, then inspect the back or lining for heat damage.
Run a controlled trial and record the result
- Fix the materials. Label garment and consumable lots. Include the actual buyer artwork and representative fine details, pale areas and solids.
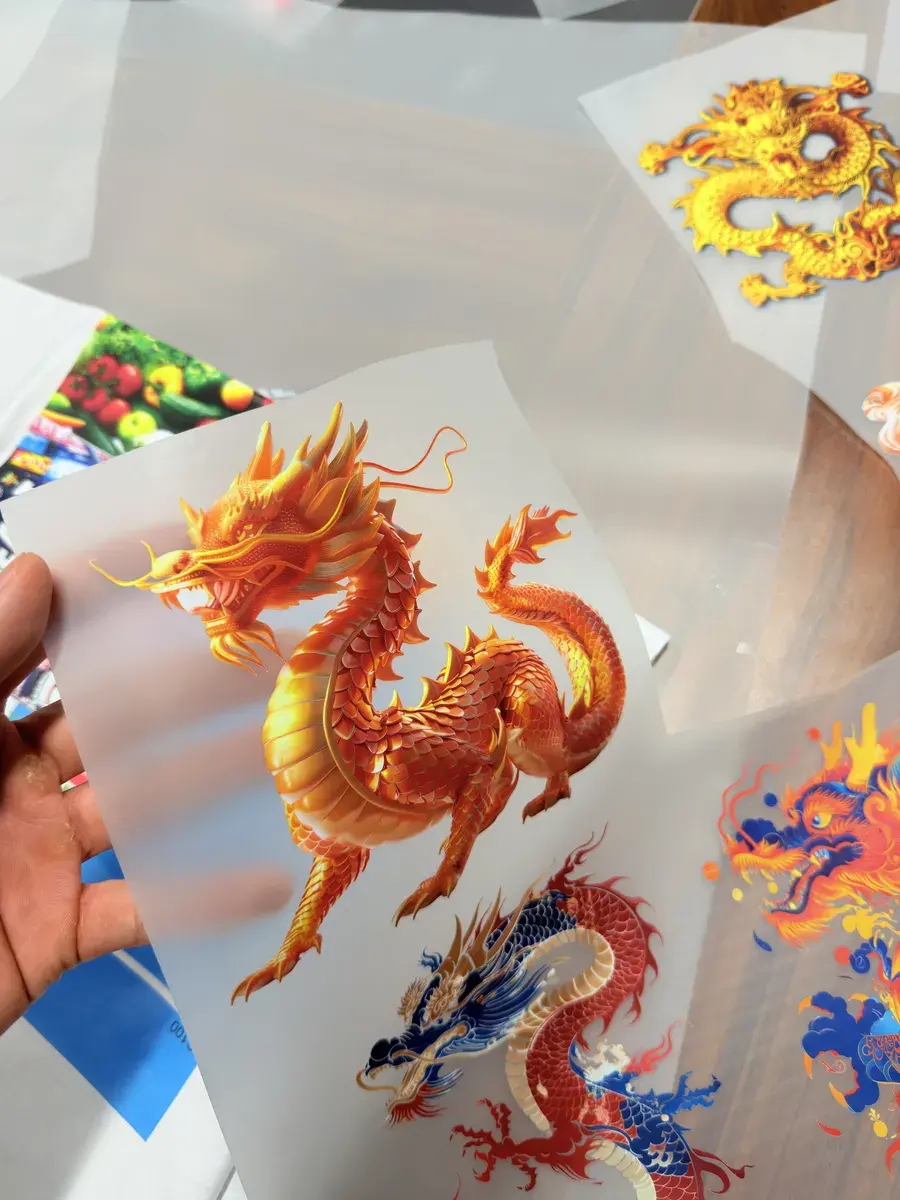
- Check printing and powdering. Confirm nozzle condition, the correct film side, clean artwork and the selected white layer. White ink provides the color foundation; hot-melt powder provides the adhesive bond.
- Use the matched instructions. Record powder curing, press temperature, time, pressure, peel method and any finishing press. Follow the film/powder supplier’s approved combination and the garment’s heat limitations.
- Inspect finished samples. Check color, edge adhesion, hand, press marks and garment damage after cooling. Repeat the trial on additional pieces to expose loading or contact variation.
- Complete the agreed use test. Include movement, care and delayed migration inspection where relevant. Record the procedure and result rather than promising a universal wash count.
- Release only the approved combination. Keep a labeled master sample, photos and settings. Recheck changes of garment finish, lot, consumables, artwork treatment or press equipment.
For the file-to-finished-garment approval process, use the DTF color accuracy and calibration guide. If the buyer is also considering printing directly onto garments, compare the workflow with the DTG demo checklist.
Select equipment after the material test
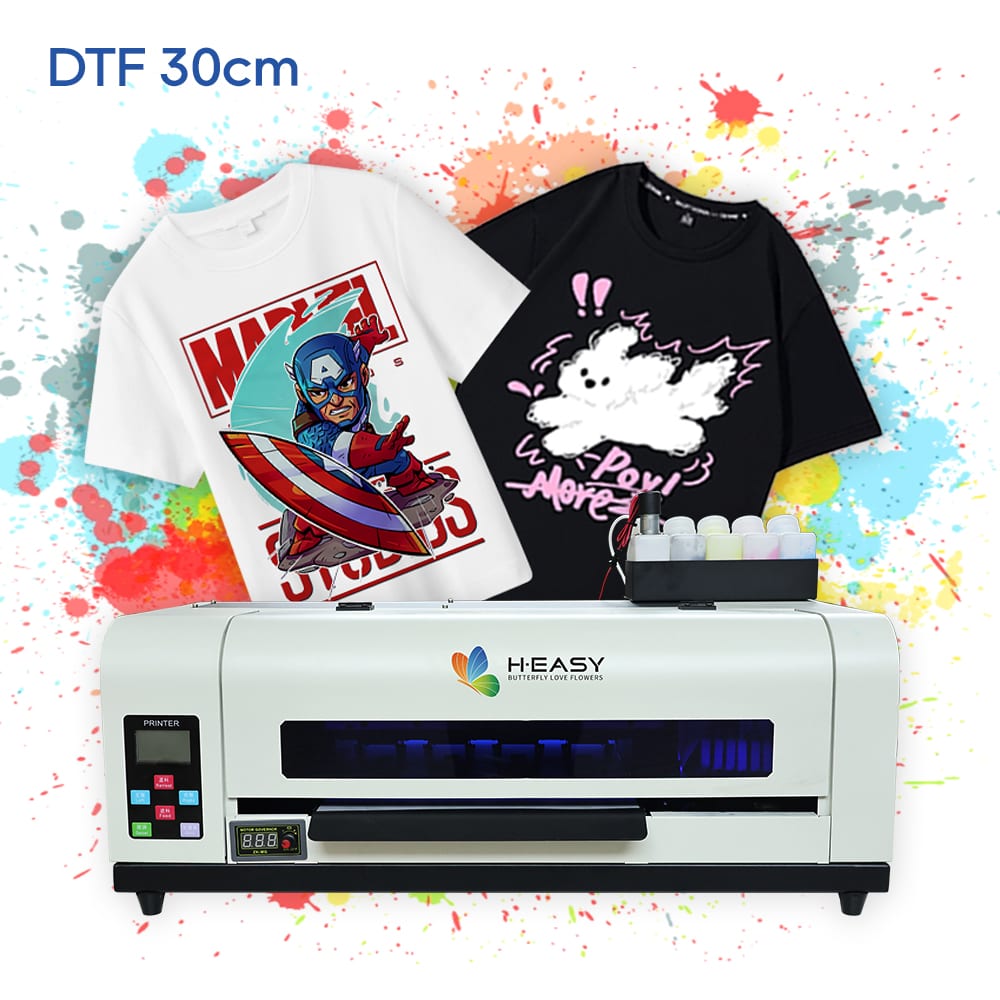
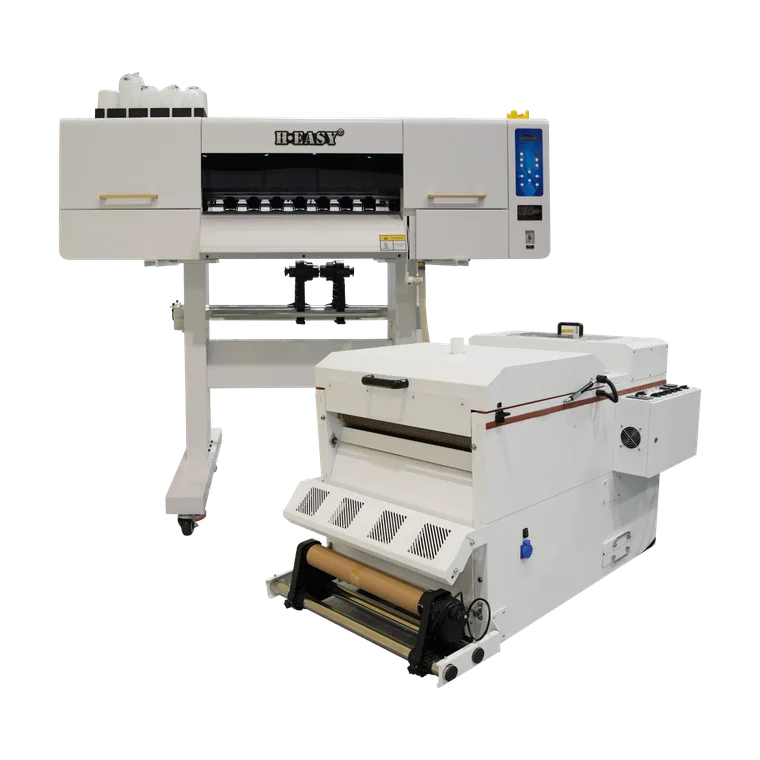
The HY-401 DTF printer and HY-702 DTF printer are starting points for discussing the required transfer format and workflow. Their product pages describe the current configurations; this article does not extend their compatibility claims to an untested jersey, denim finish or coated canvas.
Request a DTF material trial with the composition, colorways, finish, print dimensions, artwork and expected order mix. Ask for a finished sample and an itemized equipment/consumable/process proposal tied to the materials you intend to sell.
Sources and references
- VersaStudio BY2-20 DTF PrinterManufacturer example of DTF print-film-powder-cure-transfer workflow and a material range including cotton, polyester and denim; not proof of every transfer system.
- Dye Migration Handbook, Vol. 1Polyester dye migration differs from opacity, can appear after pressing, varies by garment and lot, and requires application testing.
- UltraColor Transfer Comparison ChartFabric compatibility, peel and application requirements differ between named transfer products; no supplier-specific settings are generalized here.
- Direct-to-Film Printing: Key Terms for PrintFactory UsersDistinct roles of white ink and hot-melt adhesive, material-dependent pressing instructions and inspection of finished transfers.
Printers matched to this guide