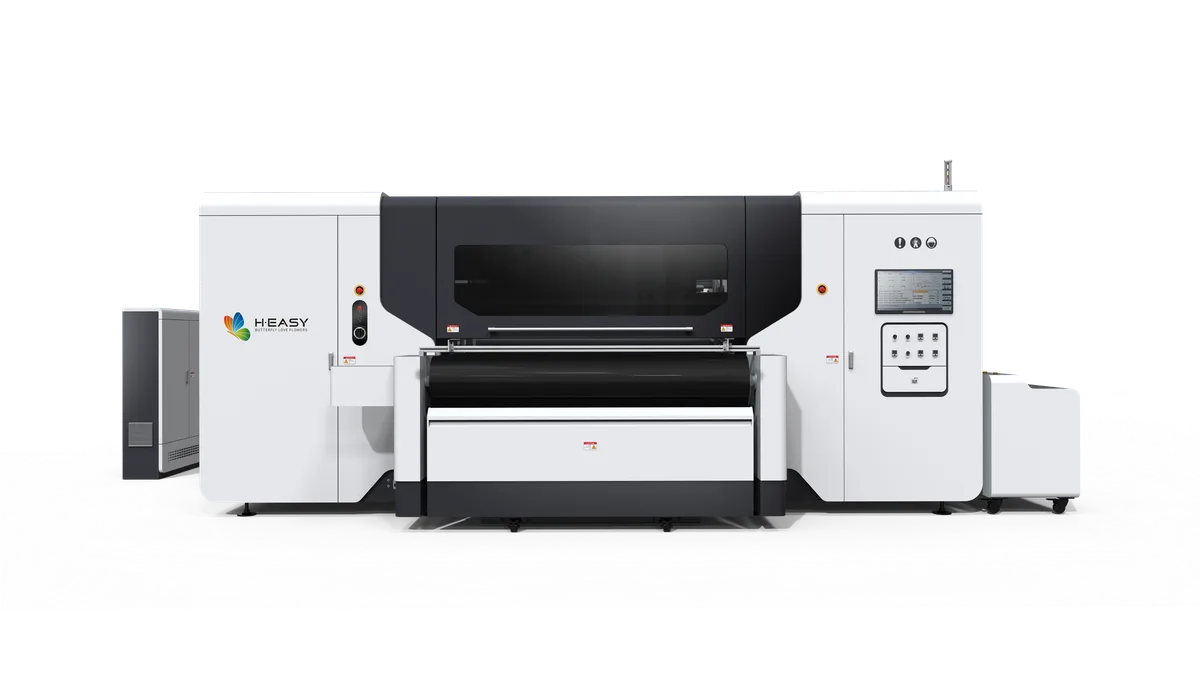
Color Difference After Printhead Cleaning: Causes and Fixes
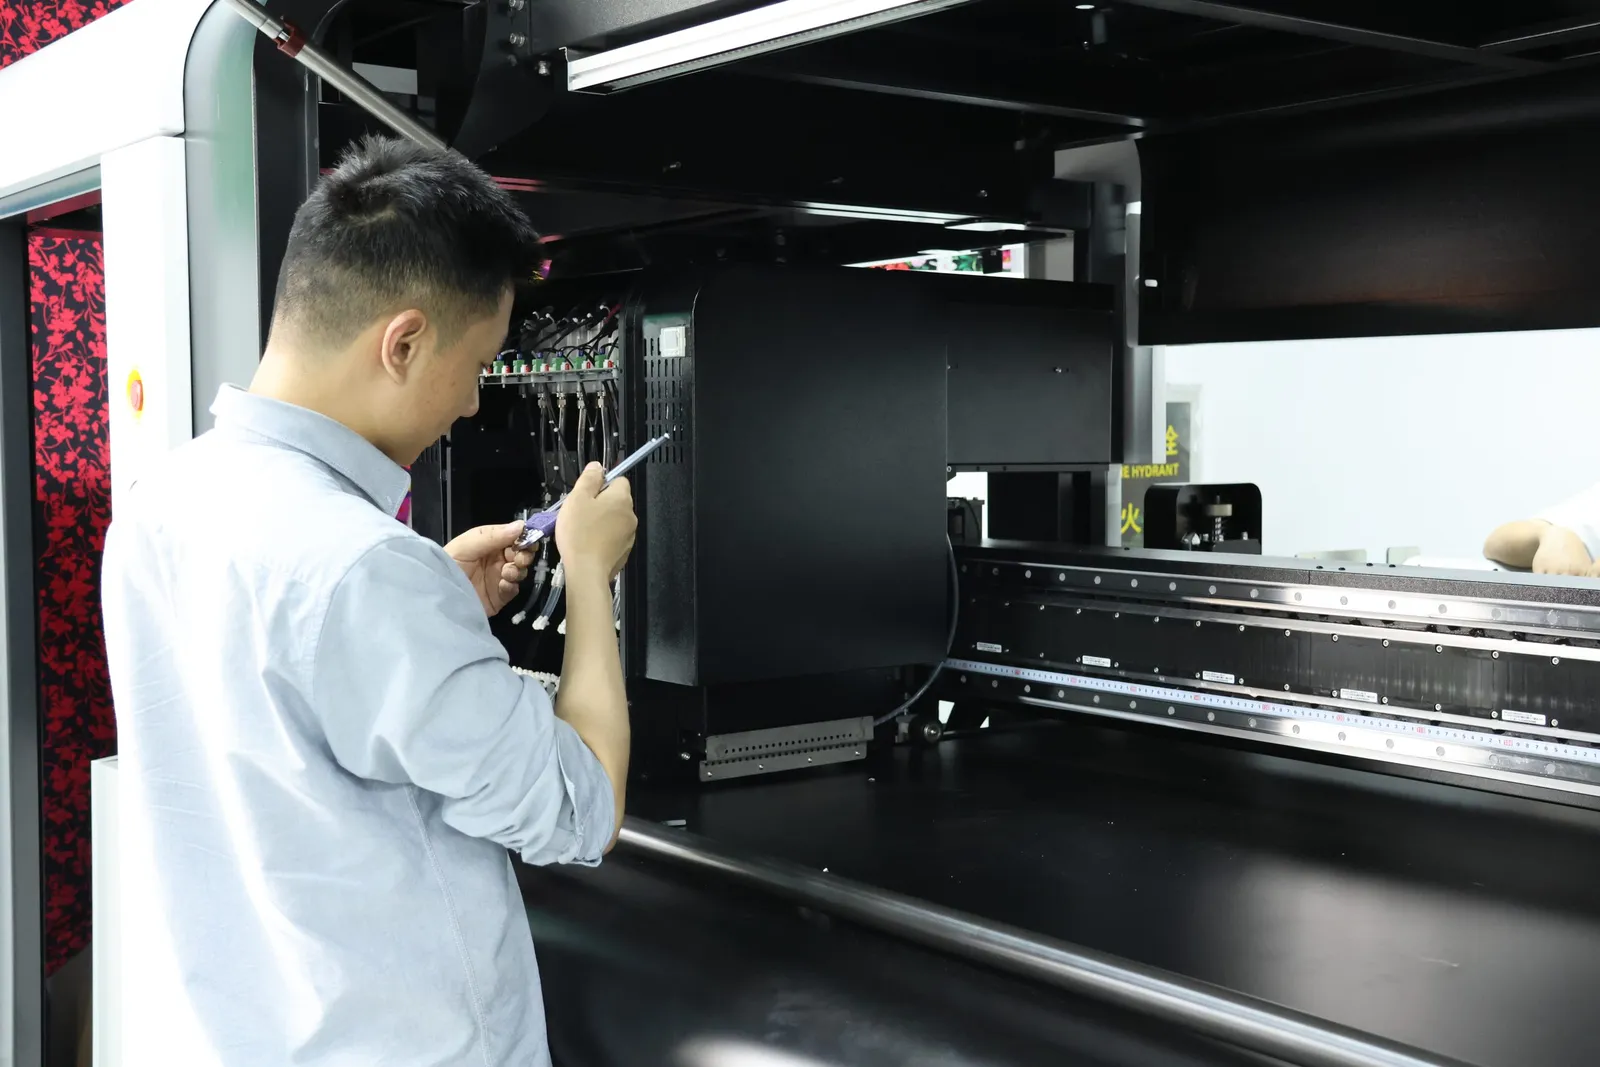
Color shifts after a printhead clean are common enough that operators often treat them as normal. They are not. In almost every case the print is telling you that something from the cleaning process is still in the ink path, or that the head has not yet returned to the state your color profile assumes.
The useful thing about this fault is that its causes are ordered. Work through them in the order below and most cases resolve before you reach the hardware.
What actually changes during a clean
A digital textile printer lays down color by firing a repeatable drop volume from every nozzle. The color you see is the product of three things staying constant: how much ink each nozzle fires, how many nozzles fire, and what the ink’s pigment concentration is.
A cleaning cycle disturbs all three at once. It pushes cleaning fluid through the path, it changes the head’s temperature, and it can recover some nozzles while leaving others partly blocked. Any one of those alone is enough to move the printed color.
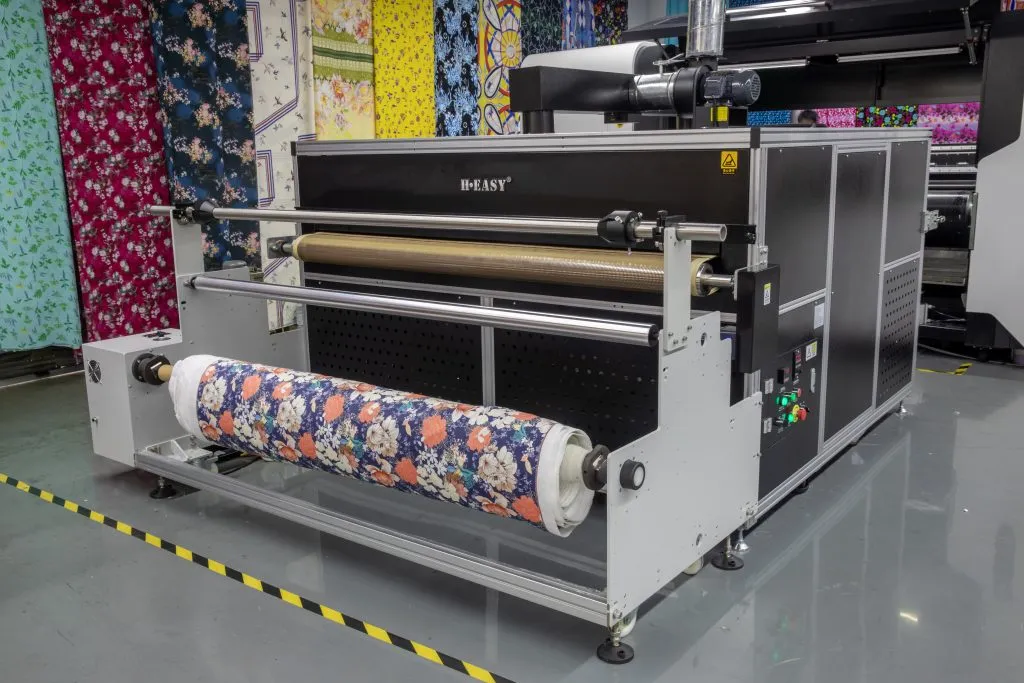
The causes, in the order they are usually the answer
1. Cleaning fluid still in the path
This is the first thing to rule out because it is the most frequent. Cleaning fluid carries no pigment and is thinner than ink. While any remains in the damper, the line or the head, it dilutes what reaches the fabric, and the print comes out lighter or flat.
Purge until the ink at the head runs at its normal color and consistency, not just until it runs clear of visible fluid. Then print a density strip and compare it against one printed before the clean. Keeping a reference strip from a known-good run makes this a comparison rather than a judgement call.
2. Residue flushed out of the line
A clean does not only remove what is in the head. It also dislodges pigment that has settled in the damper and along the tubing, and pushes it forward. That material mixes into the ink now reaching the nozzles.
The effect is usually a shift rather than a fade, and it clears as the displaced material prints out. If it does not clear, the residue is heavier than a purge can move, and the line itself needs attention.
3. The head has not returned to working temperature
Ink viscosity moves with temperature, and drop volume moves with viscosity. Cleaning fluid is often warmer than the ink it displaces, and an open head loses or gains heat from the room.
Printing while the head is settling means printing at a drop volume your profile was not built for. The color drifts and then stabilises partway into the job, which is a distinctive signature: if the first part of a run is off and the rest is right, temperature is the likely cause rather than contamination.
4. Nozzles that recovered unevenly
Cleaning recovers nozzles, but not always all of them, and not always evenly across channels. A channel that recovers fully prints at full strength while a channel still missing nozzles prints short, and the result reads as a color cast rather than a density change.
This is the one cause a density strip alone will not diagnose. Run a nozzle check and read which channel is incomplete: the cast will follow it.
5. Calibration disturbed by the work
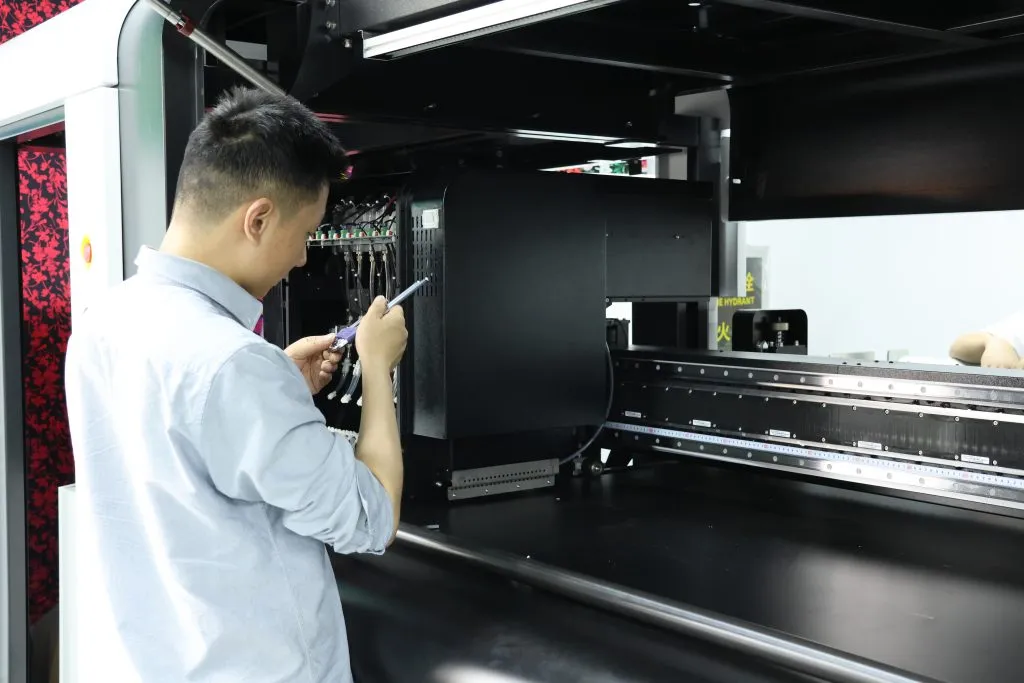
If the clean involved removing, refitting or replacing a head, the physical alignment and height have changed, and so has the drop placement the profile depends on. This is the least common cause of the five and the only one that is genuinely a calibration problem rather than a contamination or thermal one.
Treat it as the last thing to check, not the first. Re-calibrating a machine whose real problem is cleaning fluid in the line wastes the calibration.
A diagnostic order that saves time
The five causes above sort into three questions, and each one rules out a group:
- Is the whole image lighter, or is one color off? Whole-image means dilution or temperature. One color means uneven nozzle recovery.
- Does it correct itself as the job runs? Correcting means temperature or residue clearing. Not correcting means something is still in the path or nozzles are still down.
- Does a nozzle check come out complete? If not, stop there: no amount of color management will fix a mechanical shortfall.
Running these three checks takes a few minutes and tells you which of the five causes you have. Skipping to a re-profile is what turns a short interruption into a long one.
Preventing it
Most of the prevention is in the cleaning routine itself rather than in what you do afterwards:
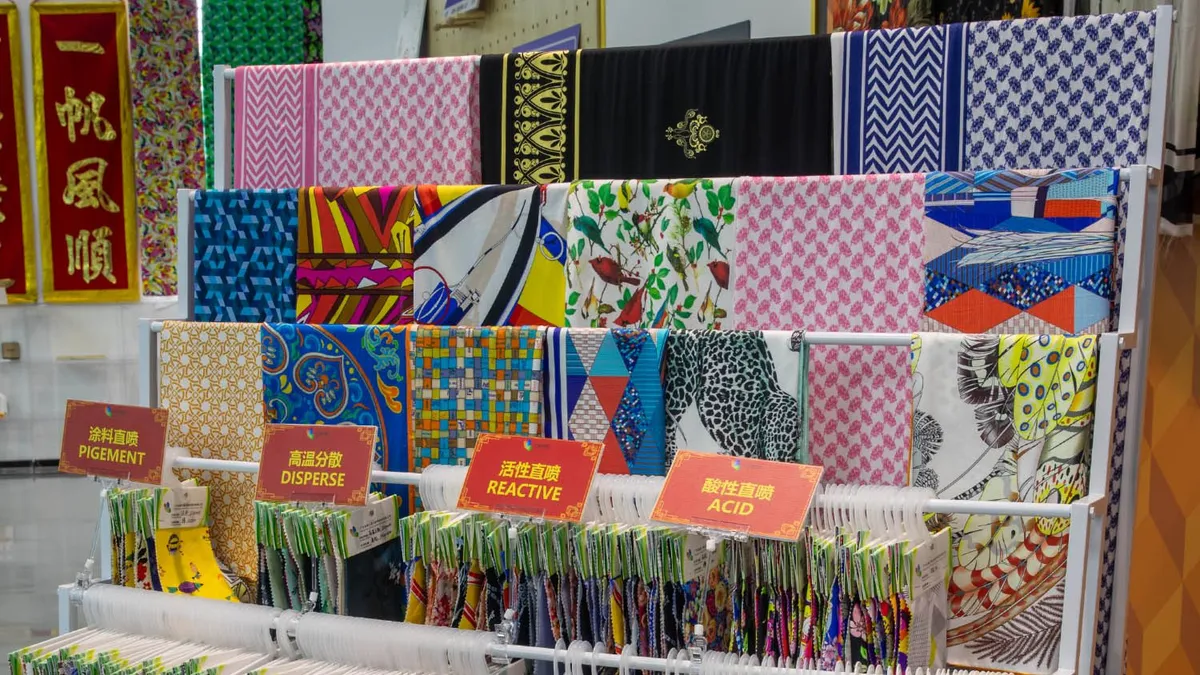
- Use the fluid matched to your ink chemistry. Pigment, reactive and disperse inks are not interchangeable in this respect, and neither are their cleaning fluids. Our note on R2R ink workflows covers where the three diverge.
- Deep clean before a stoppage, not after one. Ink that has dried in place takes a harsher clean to move, and a harsher clean is what leaves fluid in the path.
- Keep a reference density strip from a known-good state, so “the color looks off” becomes a measurement.
- Let the machine settle before production, and gate the restart on a complete nozzle check rather than on elapsed time.
- Keep the room stable. A machine in a workshop that swings in temperature and humidity will drift after every clean, and the clean will get the blame.
The same discipline that keeps color consistent is the discipline that keeps heads alive, which is the more expensive problem. A structured maintenance routine is worth more than any single recovery procedure.
When it is not the clean
If color does not return after purging, settling and a complete nozzle check, the clean is not what changed. At that point look for a leak or a blockage in the ink path, a damper that is not holding pressure, or a head reaching the end of its service life. Repeated cleaning will not fix any of those, and each additional cycle costs ink and head life.
Choosing a machine whose heads and ink path are serviceable without a specialist visit matters more than it appears on a spec sheet. Our roll-to-roll textile printers are built around that assumption, and the machine selection guide sets out what to compare.