Digital Textile Print Color Variation: Troubleshooting Guide
When a textile print changes color, first make the comparison repeatable and then trace the complete route from file and profile through fabric, ink delivery, printing, fixation, washing, drying, and finishing. Editing the artwork or RIP before locating the stage of change can hide the symptom without controlling the cause.
Color variation can appear as a warmer or cooler hue, a lighter or denser shade, lower contrast, reduced neutrality, or different detail in dark and light areas. The visible symptom alone rarely identifies one cause. A useful investigation therefore relies on retained samples and process records rather than memory.
Confirm that the color difference is real
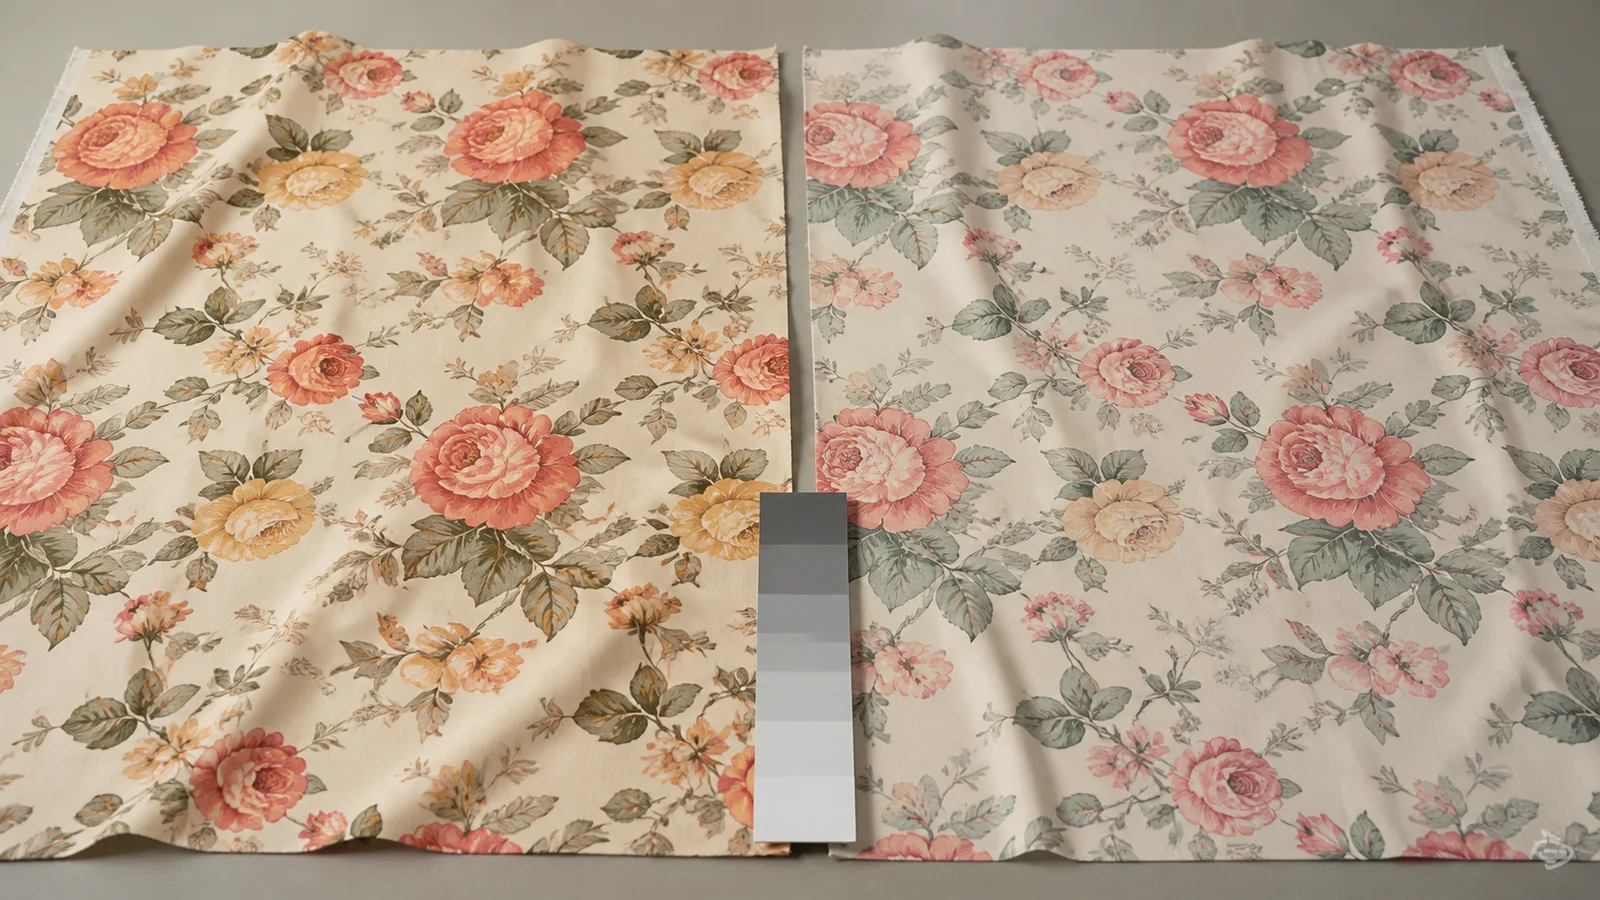
Begin by controlling how the samples are viewed. Fabric reflects the available light, and its texture, gloss, pile direction, moisture condition, and backing can change perception. A monitor emits light and cannot serve as the physical release standard by itself.
Compare the current sample with the approved finished reference:
- under the specified inspection light and surrounding conditions;
- in the same orientation and with the same backing;
- after the same conditioning and finishing route;
- with clean samples free from loose dye, dust, moisture, or handling marks;
- by using the buyer’s named visual or instrumental method where one exists.
If the difference disappears when the method is controlled, document the viewing problem instead of changing production. If it remains, keep both samples and continue the investigation.
Temporary contextual product visualization generated for this guide; it is not presented as a company test photograph.
Lock the artwork and color-management inputs
Confirm that production used the approved file, color values, embedded or assigned profile, rendering settings, ink channel configuration, and output profile revision. A renamed export or copied RIP job can still differ from the approved source.
Record the checksum or controlled revision of the artwork where the workflow supports it. Keep the RIP job ticket with the physical sample. If the design was re-exported from another application, compare the separations and spot-color definitions rather than assuming the visible preview proves equivalence.
Do not create a new compensation curve until the physical route has been checked. Profiling should describe a stable combination of substrate, pretreatment, ink set, print mode, and finishing. It cannot make an unstable route repeatable.
Compare fabric and pretreatment lots
The fabric is part of the color system. Base shade, optical character, surface hair, absorbency, oils, sizing, softener, scouring, moisture, and construction can affect both ink placement and perceived color. A supplier name or trade description is not enough to prove that two lots behave identically.
Place unprinted swatches from the approved and current lots side by side. Check their identity, base shade, surface, wetting behavior, and preparation records. For a pretreated route, compare chemistry identity, bath or coating revision, pickup uniformity, drying, storage, and time between preparation and printing.
If variation runs across the width, investigate coating, fabric condition, feed, nozzle zones, fixation, or wash distribution. If it begins at a roll or lot change, preserve samples from both sides of that boundary.
The reactive cotton process-control guide shows how fabric, pretreatment, printing, fixation, washing, and final release should remain tied to one traceable route.
Verify ink identity, delivery, and nozzle condition
Confirm the ink set, batch records, storage and handling, filtration or agitation requirements, and any replenishment event. Mixing an unqualified ink, cleaning fluid residue, contamination, settling, or inconsistent delivery can affect one or several channels.
Run the machine’s approved nozzle and channel checks before changing color settings. A missing or deflecting channel can shift neutral colors and detailed shadows even when obvious banding is not visible. Compare the current check with the record attached to the approved sample.
If the color changed after cleaning or a prolonged stop, use the post-cleaning color-difference guide for a focused recovery sequence. That case should be separated from broad lot-to-lot or finishing variation.
Review printing conditions and fabric transport
The approved print mode, resolution logic, pass strategy, carriage reference, feed calibration, head clearance, tension, and drying state should remain tied to the profile. Environmental changes can also affect fabric moisture, ink behavior, nozzle stability, and drying.
Look for the pattern of the defect:
| Pattern | First evidence to compare |
|---|---|
| Entire job shifts at its start | File, profile, ink, fabric lot, pretreatment, route revision |
| Shift begins after a stop | Nozzle check, cleaning event, ink delivery, restart sample |
| Difference runs across the width | Fabric, coating, nozzle zones, feed, heat, fixation or wash distribution |
| Difference develops along the roll | Environment, ink supply, fabric lot boundary, drying, machine event log |
| Printed sample matches but finished sample shifts | Fixation, washing, drying, finishing, conditioning |
Avoid changing several variables together. Preserve the current state, choose the most likely stage based on evidence, make one controlled correction where practical, and retain the result.
Separate printing color from finishing color
The color seen immediately after printing may not be the final color. Reactive, pigment, disperse, and other qualified textile routes develop and stabilize through different downstream processes. Heat, moisture, fixation chemistry, washing, drying tension, and finishing agents can alter shade and surface appearance.
Retain stage samples where the route permits: printed, fixed or cured, washed, dried, and fully finished. Comparing those samples reveals where the visible shift first appears. If the printed stage is stable but the finished stage is not, changing the RIP is unlikely to control the real cause.
The color-fastness troubleshooting guide is the next reference when color loss, staining, crocking, or care performance is the complaint rather than an immediate shade mismatch.
Build a repeatable color-control record
A release record should connect the approved physical sample with the artwork, profile, fabric and pretreatment lots, ink set, print mode, machine and room events, finishing recipe, inspection method, and disposition. Keep an unprinted fabric swatch beside each finished reference so future investigations can separate substrate shade from print color.
Use the digital textile quality-inspection checklist to define incoming, in-process, and final checks. The goal is not to eliminate every natural material difference; it is to identify which variation is allowed, which is not, and which process evidence supports the release decision.
The current R2R textile printer family can form part of a controlled production route, but color repeatability depends on the complete material and finishing system. Use the contact form to share the fabric, ink route, approved sample method, and observed variation pattern for configuration and troubleshooting review.