Reactive Cotton Printing: Process Control Guide
Stable reactive cotton printing comes from controlling the fabric, pretreatment, printing, steaming, washing, drying, and inspection as one linked process. A clean nozzle test and an attractive strike-off do not prove that a production roll will remain sharp, even, washable, and dimensionally acceptable after finishing. Each stage changes what the next stage receives.
Begin with a written route and acceptance standard. If the factory changes the fabric lot, pretreatment, ink, profile, print mode, steaming condition, washing sequence, or finishing setting without recording it, the cause of a later defect becomes difficult to isolate.
Confirm that reactive is the qualified route
Reactive dye is normally considered for compatible cellulose fibres when the buyer requires the color character and finished-fabric result that a qualified reactive route can deliver. It is not simply a printer option. The factory must also be able to pretreat, steam, wash, dry, handle wastewater, and control the fabric through those stages.
First record:
- fibre composition and blend percentage supplied by the mill;
- woven or knitted construction, weight, stretch, surface hair, and absorbency;
- any sizing, softener, oil, optical brightener, resin, or other incoming finish;
- usable width, roll build, edge condition, seams, and expected lot variation;
- approved color, edge definition, penetration, hand, dimensional change, and care-performance requirements;
- the named test methods and acceptance limits required by the buyer.
Do not assume that two fabrics sold under the same trade description behave the same. A construction or finish change can alter wetting, pretreatment pickup, ink spread, steaming response, washing, and final shade. Use the fabric-process selector when the fibre or finishing route has not yet been fixed.
Build a stage-by-stage control plan
Define the input, controllable variables, evidence, and release decision for every stage before the first production roll. A practical control plan looks like this:
| Stage | What must be controlled | Evidence to retain |
|---|---|---|
| Incoming fabric | Identity, lot, finish, width, defects, moisture condition, roll build | Supplier record, incoming inspection, retained swatch |
| Pretreatment | Recipe revision, bath condition, pickup uniformity, drying, storage | Batch record, left-center-right checks, treated reference |
| Printing | Nozzle state, ink identity, profile, mode, feed, tension, environment | Nozzle test, RIP job, machine log, printed control strip |
| Steaming | Validated exposure, moisture delivery, loading, roll path | Recipe, equipment record, stage sample |
| Washing | Sequence, bath condition, water quality, removal of unfixed material | Wash record, rinse or bath checks, washed reference |
| Drying and finishing | Heat, tension, dwell, width, hand, dimensional result | Finishing record, width and appearance inspection |
| Final release | Shade, defects, repeat, registration, care result, roll traceability | Approved sample, test report, roll map, release sign-off |
The values belong in the factory’s validated recipe and equipment documents. Copying a temperature, duration, or moisture target from an unrelated fabric or machine can create false confidence.
Control the incoming cotton before coating
Pretreatment cannot reliably correct an unknown substrate. Inspect the greige or prepared fabric before it enters the coating line. Oil, wax, size, lint, uneven scouring, residual finish, pH variation, wrinkles, skew, and moisture variation can all appear later as shade or sharpness differences.
Check representative positions across the width and through the roll, not only the exposed outer layer. Mark seams and damaged areas so the printer operator knows what is entering the line. Keep a swatch from each production lot beside the approved sample. When a supplier or preparation lot changes, treat that as a controlled change that may require a new strike-off.
Make pretreatment uniform and traceable
Reactive printing pretreatment prepares the cellulose route for controlled ink placement and later fixation. Too little, too much, or uneven application can change color development, edge definition, penetration, hand, and wash-off. The correct chemistry and pickup depend on the fabric and dye system.
For each bath or coating run:
- verify the recipe identity and raw-material status;
- record mixing order and the checks required by the chemical supplier;
- confirm that the applicator, padder, coater, or spray system is clean and mechanically even;
- compare application across the left, center, and right zones;
- dry the fabric with controlled tension and without scorching, migration, or retained wet zones;
- protect the treated roll from contamination and uncontrolled moisture exchange;
- label the roll with fabric lot, pretreatment batch, date, and route revision.
Avoid a universal storage-life promise. The safe interval between pretreatment and printing depends on the qualified chemistry, packaging, room conditions, and supplier instructions. If treated fabric has aged outside that window, requalify it rather than assuming it is unchanged.
Hold printing variables steady
Before loading production fabric, verify ink identity, shelf-life handling, filtration and agitation requirements, nozzle condition, carriage reference, and fabric path. Use the environmental range documented for the installed ink and printer combination; room comfort is not a process specification.
The approved profile and print mode must stay tied to the substrate and route. A profile made for another fabric, pretreatment pickup, ink set, or finishing condition can shift color and total ink placement even when the artwork is unchanged.
During the roll, monitor:
- nozzle condition before the job and after any stoppage;
- fabric tracking, edge lift, wrinkles, head clearance, and feed consistency;
- visible banding, mottling, bleeding, strike-through, and color drift;
- left-center-right control features and repeat joins;
- drying state and roll build at take-up;
- room and machine events that coincide with a defect.
Stop and isolate a change before compensating in the RIP. Increasing ink to hide weak color, for example, can worsen bleeding or wash-off when the real cause is pretreatment or fixation.
Qualify steaming as a fixation stage
The printed roll is not finished fabric. Reactive fixation depends on a controlled combination of moisture, heat, time, chemistry, and fabric exposure. Loading pattern, steam distribution, condensation, roll density, and equipment recovery can make nominally identical runs behave differently.
Use a recipe validated on the actual construction and color set. Place control features where the process is most likely to vary, and compare samples from different roll positions. Record loading and interruptions. A long queue between printing and steaming should also be controlled because the printed fabric may exchange moisture or become contaminated while waiting.
If color changes after steaming, do not immediately edit the print profile. Compare the printed-but-unfixed reference, steamed reference, equipment record, and approved route to determine whether the shift began in printing or fixation.
Wash to a defined endpoint
Washing removes unfixed colorant and process residues; it is part of color and care performance, not housekeeping. Bath loading, water quality, flow, temperature program, chemistry, fabric path, and rinsing all influence the result. A visually clear final bath is useful process evidence but is not, by itself, proof that every buyer requirement is met.
Define the wash sequence through trials and the chemical supplier’s technical guidance. Then verify it with the buyer’s specified test methods. Keep washed references so that a factory can distinguish:
- inadequate fixation from inadequate wash-off;
- shade removed during washing from a shade that never developed;
- surface staining from print misregistration;
- chemistry residue from a fabric-hand or drying problem.
Do not reduce washing only because the printer output looks acceptable before finishing. That transfers risk to later handling, garment production, or the buyer’s care test.
Dry and finish without undoing earlier control
Drying and finishing can change width, skew, stretch, surface appearance, hand, and perceived shade. Use controlled heat and tension suitable for the fabric, and inspect after the final production stage rather than releasing from the printer or washer.
Compare finished samples across the roll width and at defined roll intervals. Measure only against agreed methods and tolerances. If a softener, mechanical finish, or other treatment is added, record its identity and revision because it becomes part of the approved route.
Diagnose defects from evidence, not guesses
Most visible symptoms have more than one possible cause. Use the stage history to decide what to test first.
| Symptom | First stages to compare | Useful evidence |
|---|---|---|
| Soft or bleeding edges | Fabric finish, pretreatment pickup, ink load, fabric motion | Incoming swatch, coating checks, nozzle test, control strip |
| Dull or weak color | Fabric identity, pretreatment, profile, steaming | Retained stage samples and recipe revisions |
| Side-to-side shade difference | Coating, feed, nozzle state, steam or wash distribution | Left-center-right controls and equipment logs |
| Color loss during washing | Fixation route, wash sequence, fabric chemistry | Printed, steamed, and washed comparison samples |
| Harsh hand | Pretreatment or ink load, wash-off, drying and finishing | Bath records, stage samples, final hand approval |
| Repeat or registration error | Fabric preparation, tension, feed, take-up | Roll map, registration marks, machine event log |
Change one controlled variable at a time where practical. If several settings are changed together and the result improves, the factory still does not know which correction mattered or whether the improvement will repeat.
For symptom-led diagnosis, the R2R ink-workflow guide helps separate chemistry and finishing boundaries from printer symptoms.
Release bulk production with an evidence pack
Approve a route, not a photograph. The production evidence pack should include:
- identified fabric, pretreatment, ink, and chemical lots;
- current recipe and profile revisions;
- nozzle tests, RIP job, print mode, and machine event log;
- steaming, washing, drying, and finishing records;
- retained samples before and after the critical stages;
- inspection conditions, roll map, test method, result, and disposition;
- authorization for any deviation from the approved route.
When a defect appears, quarantine the affected interval and preserve the evidence before cleaning equipment or overwriting settings. Traceability turns a vague complaint into a bounded process investigation.
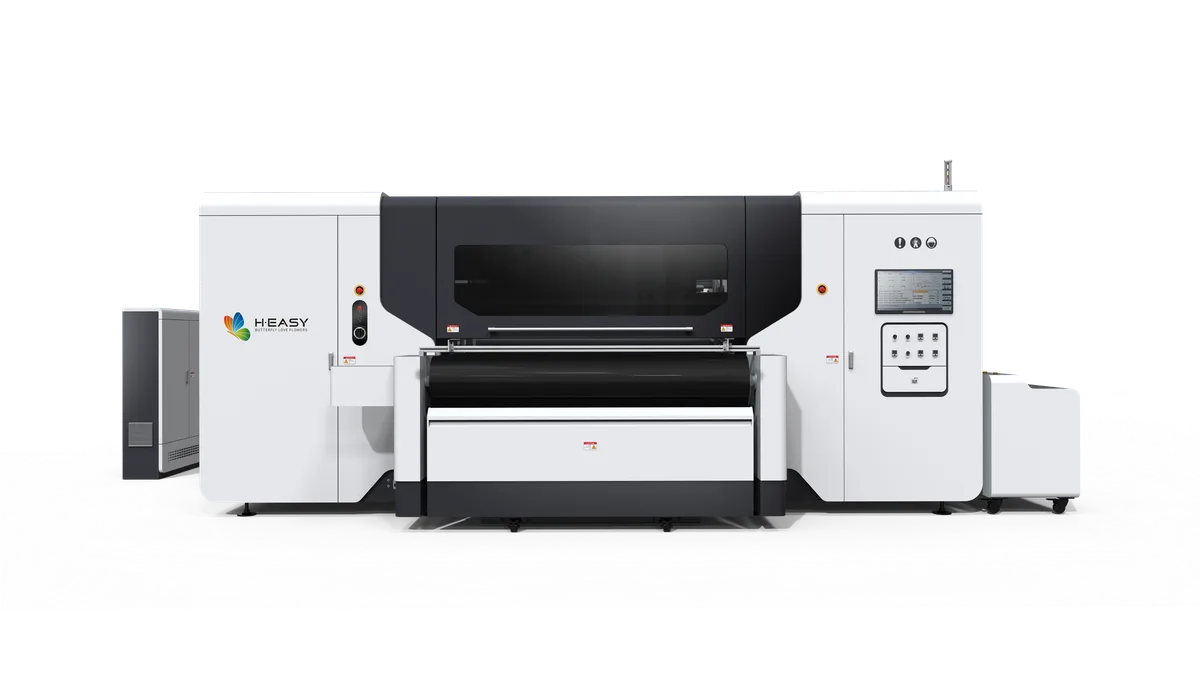
The current R2R textile printer family is one equipment path for a qualified reactive route, but the printer must be specified together with pretreatment, fixation, washing, utilities, material handling, and acceptance criteria. Use the contact form to send the fabric construction, required route, usable width, existing finishing equipment, and sample-approval plan for configuration review.