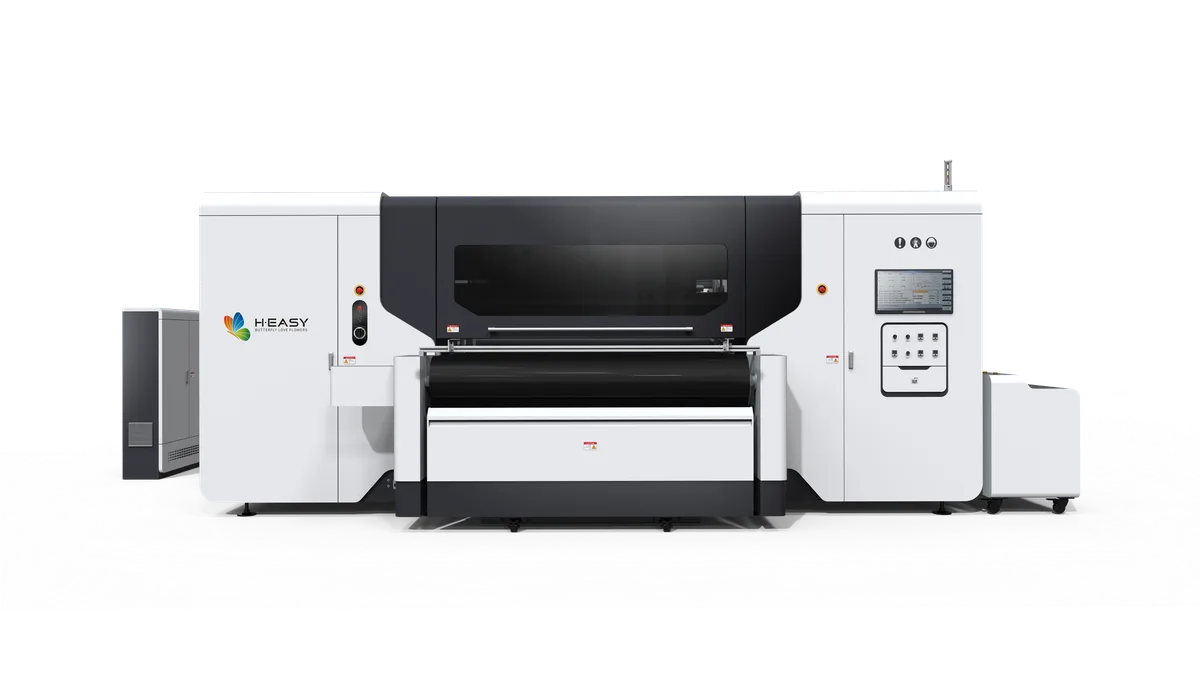
Digital Textile Printer Maintenance in Dry Weather
Maintain a digital textile printer in dry weather by controlling the complete environment around the machine, not by repeatedly cleaning the printhead. Condition the fabric, keep dust and lint away from the print zone, protect ink and cleaning fluids from unnecessary exposure, verify the approved electrical grounding, and compare nozzle and print samples before changing settings.
Dry-weather defects often share the same visible result even when their causes are different. A displaced droplet can come from static or airflow. A missing jet can come from exposed ink drying, a poor cap seal, contamination, or an ink supply fault. A feed change can come from fabric conditioning, tension, or a mechanical issue. Treat the room, material, ink path, and printer as one system before choosing a corrective action.
Start with the documented operating window
The correct temperature and relative-humidity range is the one validated for the installed printer, printhead, ink, fabric, and finishing route. Record that range from controlled supplier documents during commissioning. Do not copy a number from another model, another ink chemistry, or a generic maintenance article.
Place calibrated room monitoring where it represents the printer intake and material area, away from a heater outlet, open door, dryer exhaust, humidifier plume, or direct sunlight. A room average can hide a local dry-air stream over the carriage or an incoming roll that has not reached the same condition as the print area.
If the room needs humidification, manage it as a facility control. Do not aim mist at the machine, electrical cabinet, ink, fabric, or floor. Condensation, wet dust, corrosion, and slippery surfaces replace one problem with several others. The facility and equipment documentation should define acceptable placement, water quality, cleaning, and electrical safety.
Use the R2R startup checklist to confirm the room and printer begin from a known state before production.
Understand what dry air changes
Static changes droplet and material behavior
Fabric, films, rollers, footwear, packaging, and moving belts can exchange charge. In dry conditions that charge may dissipate less readily. Dust and lint can then cling to the textile or printer, light material may lift or track differently, and a droplet may be displaced before it reaches the surface.
Static is not proved by every speck or skewed print. Look for a pattern that changes with material handling, roll conditioning, nearby airflow, operator contact, or a specific area of the machine. If there is a shock, visible arc, electrical alarm, or damaged cable, stop and follow the electrical safety and service procedure.
Never attach an improvised grounding wire or defeat an interlock. A qualified person should verify the building earth, machine protective bonding, approved static-control devices, and their inspection method against the installation documents.
Exposed ink and service surfaces can dry faster
The ink inside a closed, healthy supply system is not the same as residue left on a wiper, cap edge, waste path, or exposed nozzle area. Dry airflow can make that exposed residue harder and reduce the quality of the cap seal or wiping action. Repeating an aggressive cleaning routine may consume ink without correcting a dirty cap, worn wiper, air leak, or unsuitable room condition.
Inspect only the operator-serviceable areas named in the manual. Use the approved fluid, lint-free material, method, and personal protection. Do not wipe the nozzle plate, substitute a household solvent, scrape dried ink, or disassemble the ink path unless the model-specific procedure explicitly authorizes that work.
The R2R maintenance checklist explains how to use nozzle baselines and trigger-based recovery instead of blind cleaning cycles.
Fabric moisture and shape can drift
An incoming roll may have been stored in a different room, beside a heater, or in opened packaging. The resulting material can behave differently even when the same artwork and printer mode are used. Possible observations include edge curl, surface hair, wrinkles, skew, changing tension, uneven lay on the belt, or a different rate of ink spread.
Keep the roll identified and protected during storage. Bring it into the approved production environment for the conditioning process defined by the material and factory procedure. Do not assume that adding moisture quickly is safe; direct spray can create uneven wet areas, stains, dimensional change, or contamination.
Before loading, inspect the printable face, edges, splices, surface lint, roll shape, and packaging history. Advance the fabric through the documented path while watching for lift, skew, wrinkles, and head-contact risk.
Use a dry-weather preflight record
Add the following observations to the normal startup record:
- room condition at the printer and material-storage area;
- recent heater, ventilation, door, or humidification changes;
- fabric identification, storage state, and conditioning status;
- visible lint, curl, edge lift, wrinkles, or unusual roll behavior;
- building earth or static-control inspection status where the procedure requires it;
- nozzle check and reference print before production;
- cap, wiper, platen, belt, roller, and sensor condition within the approved operator inspection scope;
- ink and cleaning-fluid identity, closure, storage, and expiry status;
- any alarm, shock, head contact, leak, or abnormal sound.
The value is the comparison, not paperwork for its own sake. When a defect appears, the record shows whether the room, material, nozzle pattern, cleaning action, or feed behavior changed first.
Diagnose the symptom before acting
| Observation | Dry-weather checks | Do not assume |
|---|---|---|
| Dust or lint on fabric | Material packaging, room cleaning, airflow, static-control state | The printer needs more cleaning cycles |
| Scattered or displaced dots | Static pattern, airflow, print gap, fabric lift, nozzle check | The profile is wrong |
| Missing jets after idle time | Cap seal, wiper condition, approved idle state, ink supply, room change | The head must be flushed or replaced |
| Edge curl or unstable feed | Roll conditioning, storage, tension, web path, local heat | More take-up force will solve it |
| Color or density drift | Nozzle baseline, fabric lot and moisture, room condition, ink identity, finishing | A color-file edit is the first correction |
| Repeated electrical or static alarm | Stop state, protective earth, approved static control, cable and facility inspection | An improvised wire is safe |
Change a controlled variable, print a comparison, and keep the evidence. If several variables move together, the team cannot tell whether the improvement came from material conditioning, room control, cleaning, tension, or a profile change.
Use the textile print-quality inspection checklist to classify the defect direction and preserve a repeatable comparison sample.
Protect ink, fluids, and spare materials
Keep ink and approved maintenance fluids in their original closed containers under the supplier-labeled storage conditions. Record opening and lot identity according to the factory procedure. Avoid direct heat, sunlight, dust, and unnecessary air exposure. Do not add water, mix batches without authorization, or transfer fluid into an unlabelled container.
Store fabric, wipes, filters, and other sensitive consumables in clean, protected conditions. Packaging that controls dust or moisture should remain closed until the material enters the approved conditioning and production process. A spare part stored beside a heater or in open dust can create a new fault during maintenance.
Define stop and escalation boundaries
Operators should know which checks are routine and which conditions require service. Stop production and use the approved escalation path after an arc or shock, repeated electrical alarm, leak, head strike, abnormal ink pressure, unexplained motion fault, or persistent nozzle loss after the documented recovery sequence.
Do not respond to a seasonal problem with an unapproved firmware update, interlock bypass, printhead disassembly, arbitrary solvent, or undocumented grounding change. Those actions can obscure the original cause and introduce equipment or personal-safety risk.
For an R2R configuration review, compare the required fabric, ink route, facility controls, material conditioning, static strategy, and service scope with the current textile printer family. Use the contact form to share the observed symptom, nozzle and reference-print evidence, material identity, room history, alarm details, and actions already taken.