Digital Textile Print Quality Inspection Checklist
Digital textile print quality is not simply vivid color or a sharp-looking motif. A production release should show that the correct artwork has been printed on the intended fabric, through the intended ink and finishing route, and that the result meets agreed visual, tactile and durability criteria.
This checklist turns “looks good” into a repeatable inspection. It deliberately does not provide universal pass limits: color tolerance, fastness method, surface character and defect allowance belong to the buyer specification and end use. Define those requirements before printing, then record what was actually inspected.
Verify the inspection sample first
An inspection is invalid if the sample identity is uncertain. Confirm the following before evaluating appearance:
- artwork file and revision status;
- fabric fibre, construction, finish and lot identification used by the shop;
- digital print route and ink set;
- pretreatment, coating or paper-transfer condition where applicable;
- profile, recipe or controlled print-setting reference;
- fixation, washing, curing and final finishing status;
- approved reference and buyer acceptance method.
A print that has not completed its normal after-treatment is an in-process sample, not a finished-quality reference. Likewise, a visually similar substitute fabric cannot release an order specified on a different construction. Use the fabric printing process guide when the material and ink route have not yet been resolved.
Inspect the image in a fixed order
Use the same sequence for every sample so a strong first impression does not hide a production defect.
Surface cleanliness and unintended marks
Look across unprinted and printed areas for lint, oil, ink drops, head contact, creasing, pressure marks or contamination carried through finishing. Determine whether the mark is isolated or repeats with the print or feed motion. A repeating defect usually gives a better diagnostic clue than its color or shape alone.
Repeat, placement and geometry
Compare motif scale, orientation, placement and repeat joins with the controlled artwork. Check whether lines remain straight across the usable width and whether the design drifts as fabric advances. A beautiful color match cannot compensate for a repeat that will not join in cutting or sewing.
Detail and edge behavior
Inspect critical fine elements rather than only open color fields. Watch for feathering along yarns, doubled edges, direction-dependent blur, broken fine lines or detail filled by excess ink. The likely causes differ, so the blurry-edge troubleshooting guide separates fabric spread, alignment and motion faults.
Banding, missing nozzles and uniformity
Check solid and gradual-tone areas for repeated light or dark bands, channel loss, mottling and widthwise density change. Note the direction of the defect. Carriage-direction and feed-direction bands lead to different inspection paths.
Run a nozzle check when the pattern suggests channel loss, but do not assume every stripe is a clog. Feed behavior, fabric tension, alignment, surface preparation and print settings can produce similar visible symptoms. Make one supported change at a time and preserve each comparison.
Judge color against the agreed target
Terms such as bright, rich and realistic are not acceptance criteria. A high-saturation output may be wrong for the approved design, while a muted tone may be exactly correct.
Confirm that the sample and reference are viewed using the agreed method and that both have completed the required conditioning and finishing. Compare critical hues, neutrals, gradients and repeated areas across the fabric. Where the buyer specifies instrumental measurement, use the named geometry, illuminant, sample preparation and tolerance rather than substituting a visual opinion.
If a previously stable result changes after maintenance, work through ink-path, temperature, nozzle and alignment causes before changing the profile. The post-cleaning color-shift guide provides that diagnostic order.
Assess hand and surface change for the product
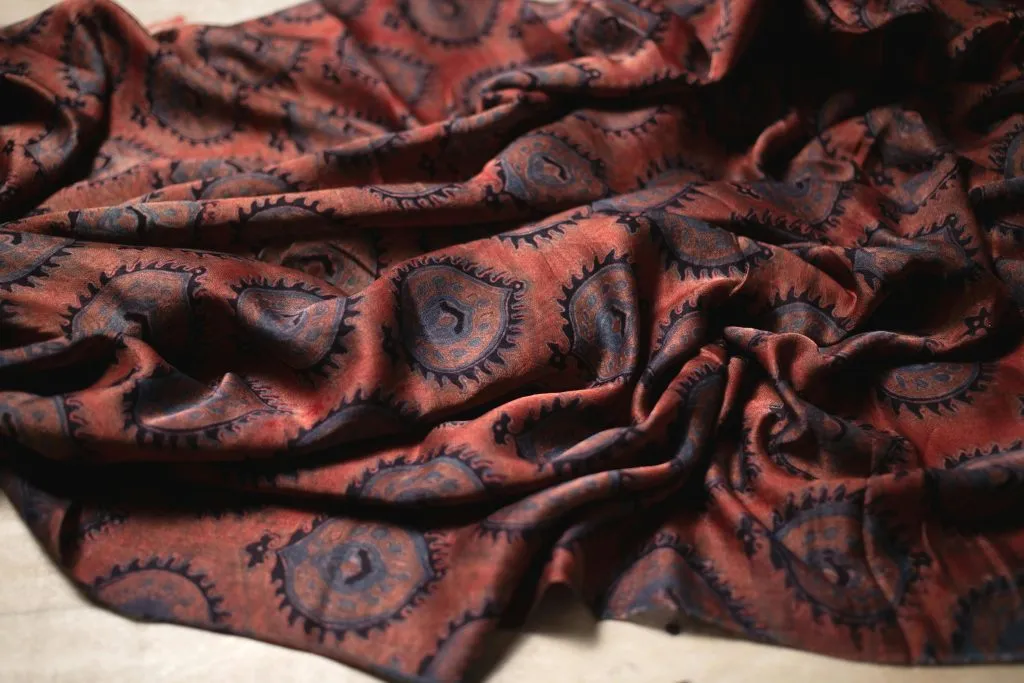
There is no universal rule that a quality print must be impossible to feel. Acceptable hand depends on fabric construction, ink chemistry, deposit, pretreatment, binder and end use. Compare the printed and unprinted areas with the approved reference for stiffness, tack, roughness, powdery residue or an unintended film.
Judge the fabric as it will be supplied, after required fixation, washing, curing and finishing. An unfinished pigment print or an unwashed reactive print does not represent the final surface. Record whether a hand difference is an expected consequence of the qualified route or an actual rejection.
Inspect penetration and reverse-side appearance only when relevant
Some products require strong face definition; others also require controlled penetration or an acceptable reverse-side appearance. Set that expectation in the specification. Do not label penetration as universally good or bad.
Inspect open constructions, dark grounds and areas of heavy coverage for pinholes, grinning, unintended show-through or excessive strike-through. Relate the result to fabric construction, pretreatment, ink delivery and the intended viewing side rather than judging it apart from the product.
Validate fastness with the agreed method
Fastness is a test result, not a visual promise. The required method depends on how the textile will be used and what the buyer or market requires. The inspected sample must have completed the real fixation and finishing route before it is tested.
An informal soak, hand rub or fingernail scratch may expose an obvious process failure during development, but it does not prove compliance and should not be reported as a standard result. Use the buyer’s named method or a qualified laboratory procedure, keep the test conditions and report, and connect the result to the exact fabric and process sample. For failure diagnosis, use the textile color-fastness troubleshooting guide.
Use the defect pattern to choose the next check
| Observed symptom | First inspection path | Avoid assuming |
|---|---|---|
| Repeated light or dark bands | Direction, nozzle pattern, feed, tension and alignment | Every band is a blocked nozzle |
| Soft or feathered edges | Fabric surface, pretreatment, ink spread and carriage alignment | Higher image resolution will fix process spread |
| Color differs across the width | Fabric condition, ink delivery, nozzle state and finishing uniformity | A profile change is the first remedy |
| Print feels unexpectedly stiff or tacky | Ink deposit, pretreatment, binder and completed cure or wash route | All ink systems should have the same hand |
| Fastness result fails | Sample identity, fixation, washing or cure, ink-fabric compatibility and test method | A visually good sample must be durable |
| Motif drifts or repeat does not join | Artwork repeat, feed behavior, tension and dimensional change through finishing | The artwork alone caused the geometry error |
The purpose of the table is to order checks, not to diagnose unseen hardware. Escalate when the fault remains after the supported operator routine, when the machine behaves abnormally or when inspection would require protected access.
Release, rework or reject with evidence
Give the sample a clear status rather than a vague comment. A release confirms that the identified sample meets the defined criteria. A rework decision states which controlled variable will change and what must be rechecked. A rejection records the failed criterion and prevents the same sample from returning to the approval pile.
Keep the physical reference with its artwork revision, fabric identification, route, profile or recipe reference, finishing history, inspection notes and approval record. Photographs help locate defects, but they do not replace the fabric reference for color and hand.
Make quality inspection part of process control
The strongest inspection system links each visible symptom back to a controlled process record. It lets production distinguish an artwork problem from fabric variation, an ink-path fault from feed behavior, and a finishing failure from a printing failure. That shortens investigation without inventing universal thresholds.
The current direct-to-fabric workflow shows how print chemistry and finishing routes differ, while the roll-to-roll printer family provides the current equipment context. Build the acceptance plan around the buyer’s product and qualified route, then use the same checklist from sampling through production release.