
Digital Textile Print Color Fastness Troubleshooting
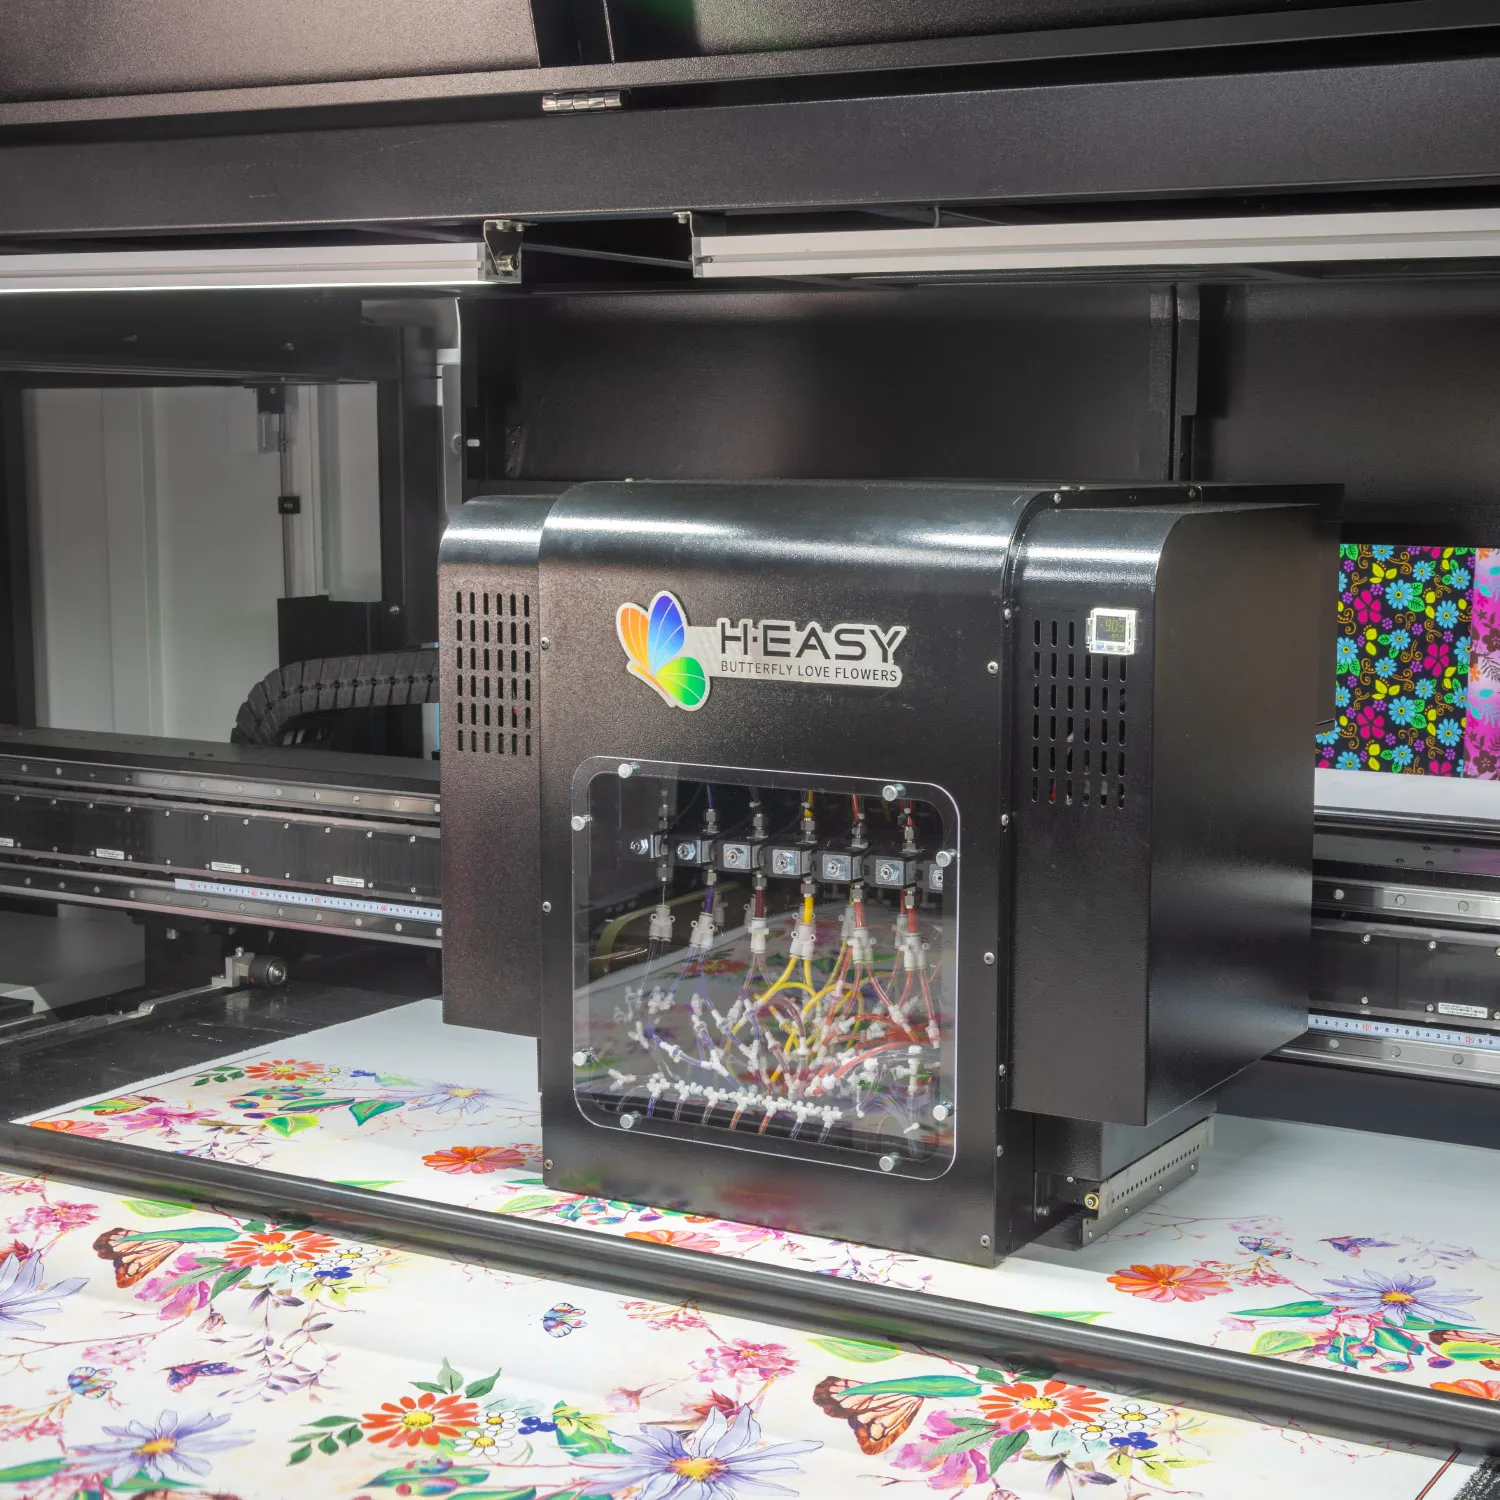
Poor digital textile print fastness is usually a route problem: the fibre, ink chemistry, pretreatment, ink load, fixation, wash-off or curing, and test method do not align. The printer can create local variation through nozzle, feed, or contact defects, but it cannot by itself create the chemical or binder system that keeps color on the finished textile.
Start by naming the failed property. “Color fastness is poor” is not a useful diagnosis until the mill knows whether the issue is shade change, staining, dry rubbing, wet rubbing, washing, light, perspiration, or another buyer-defined test.
Define the failure before changing the process
Confirm the approved test method, specimen preparation, conditioning, adjacent material, instrument or visual assessment, and acceptance limit. Different tests expose different mechanisms. A fabric can perform acceptably in one test and miss another without the results contradicting each other.
Record:
- customer, order, artwork, colorway, and affected roll interval;
- fibre composition, construction, incoming finish, and fabric lot;
- ink, pretreatment, cleaning, and finishing chemical lots;
- profile, print mode, artwork coverage, and machine event history;
- fixation, washing or curing, drying, and finishing records;
- test method, laboratory, specimen location, conditioning, and full result;
- whether the failure is color change on the specimen, transfer to another material, or both.
Do not compare a fresh print with a result specified for finished fabric. Also do not treat an informal hand rub as equivalent to the buyer’s controlled test. It can flag a problem, but it does not define release.
Match the fibre to the complete ink route
Fastness begins with a compatible route, not a head brand. The selected ink must work with the fibre and with the factory’s preparation and finishing equipment. Common boundaries include:
- reactive routes for compatible cellulose rely on controlled pretreatment, steaming or another validated fixation exposure, and removal of unfixed material through washing;
- disperse routes for polyester rely on a qualified heat-fixation process and control of surface contamination or migration;
- pigment routes hold color through a binder system and require the specified pretreatment and cure without damaging hand or fabric;
- acid routes for compatible protein or polyamide fibres require their own preparation, fixation, washing, and material controls.
These are process families, not universal recipes. Use the fabric-process selector to confirm the route and the R2R ink-workflow guide to identify its upstream and downstream stages.
Preserve samples from every critical stage
A finished roll alone hides where the failure began. For trials and important production lots, retain identified samples of:
- incoming fabric;
- prepared or pretreated fabric;
- printed but unfixed fabric;
- fixed or steamed fabric before wash-off, where the route allows safe sampling;
- washed or cured fabric;
- final dried and finished fabric.
Keep the approved reference under controlled storage and viewing conditions. When a failure occurs, these samples show whether color was placed unevenly, failed to develop during fixation, remained loose at the surface, was removed during washing, or changed during drying and finishing.
Check the substrate and pretreatment
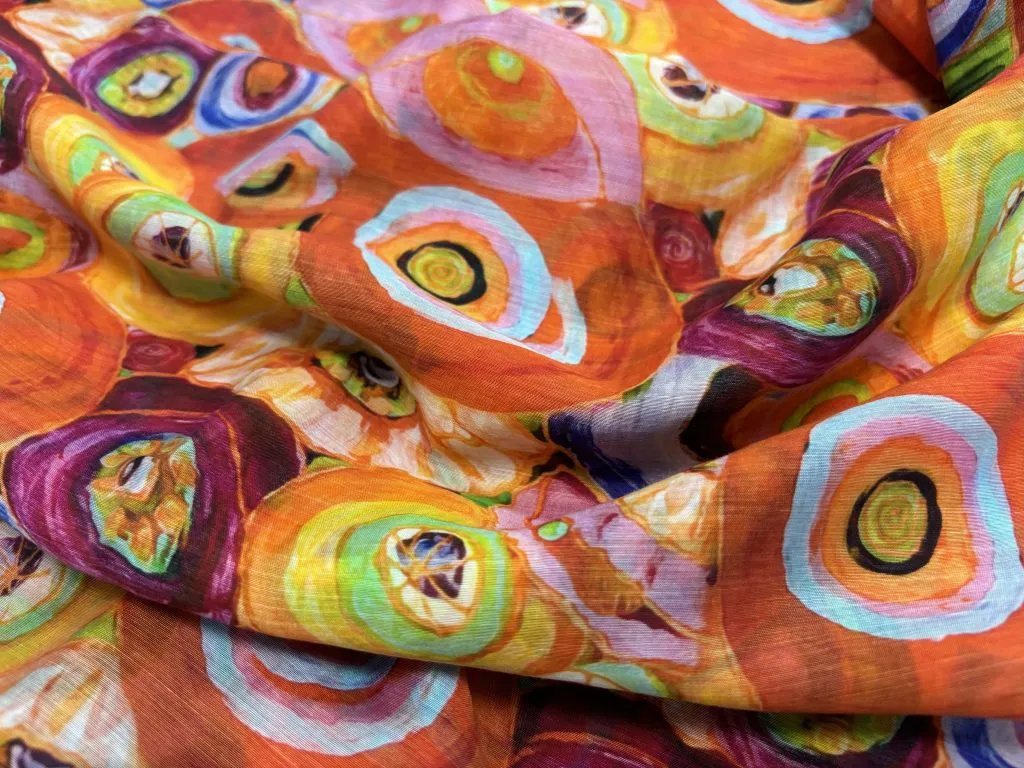
Incoming fabric can carry oil, wax, size, softener, optical brightener, resin, lint, or uneven preparation. Surface hair, pile, loose fibre, and abrasion can also make apparent color transfer worse because colored fibre fragments leave the surface during rubbing.
Compare the failed lot with the approved fabric for fibre, construction, weight, whiteness or base shade, absorbency, surface, finish, and moisture condition. Inspect across the width and through the roll, not only the outer layer.
For pretreatment, verify recipe revision, raw-material identity, bath checks, application uniformity, pickup, drying, storage, and contamination control. Too little, too much, or uneven application can change ink spread, surface color, fixation, hand, and wash-off. Use left-center-right controls to find a coating gradient before changing the print profile.
Verify ink load and profile on the actual fabric
Dark artwork does not justify unlimited ink. Once the qualified substrate and pretreatment can no longer place or fix additional colorant effectively, extra surface material can increase bleeding, drying load, wash-off demand, or rubbing transfer without improving the approved result.
Check that the production job used the approved:
- ink set and lot handling;
- fabric and pretreatment route;
- profile, total ink strategy, rendering intent, and print mode;
- artwork revision and coverage;
- drying state before take-up and fixation;
- finished-sample approval conditions.
Do not reduce every channel or alter the profile based on one failed swatch. Print a controlled step trial on the same fabric lot, carry every candidate through the same finishing route, and compare the required tests. A lower ink load that passes rubbing but misses color or penetration is not automatically the correct solution.
Separate printer variation from chemistry failure
The printer matters when it changes where and how uniformly ink is delivered. Inspect nozzle condition, ink supply, carriage reference, head clearance, fabric flatness, feed, tension, and any fabric contact. Look for a defect that aligns with a nozzle group, carriage direction, repeat interval, roll edge, or machine event.
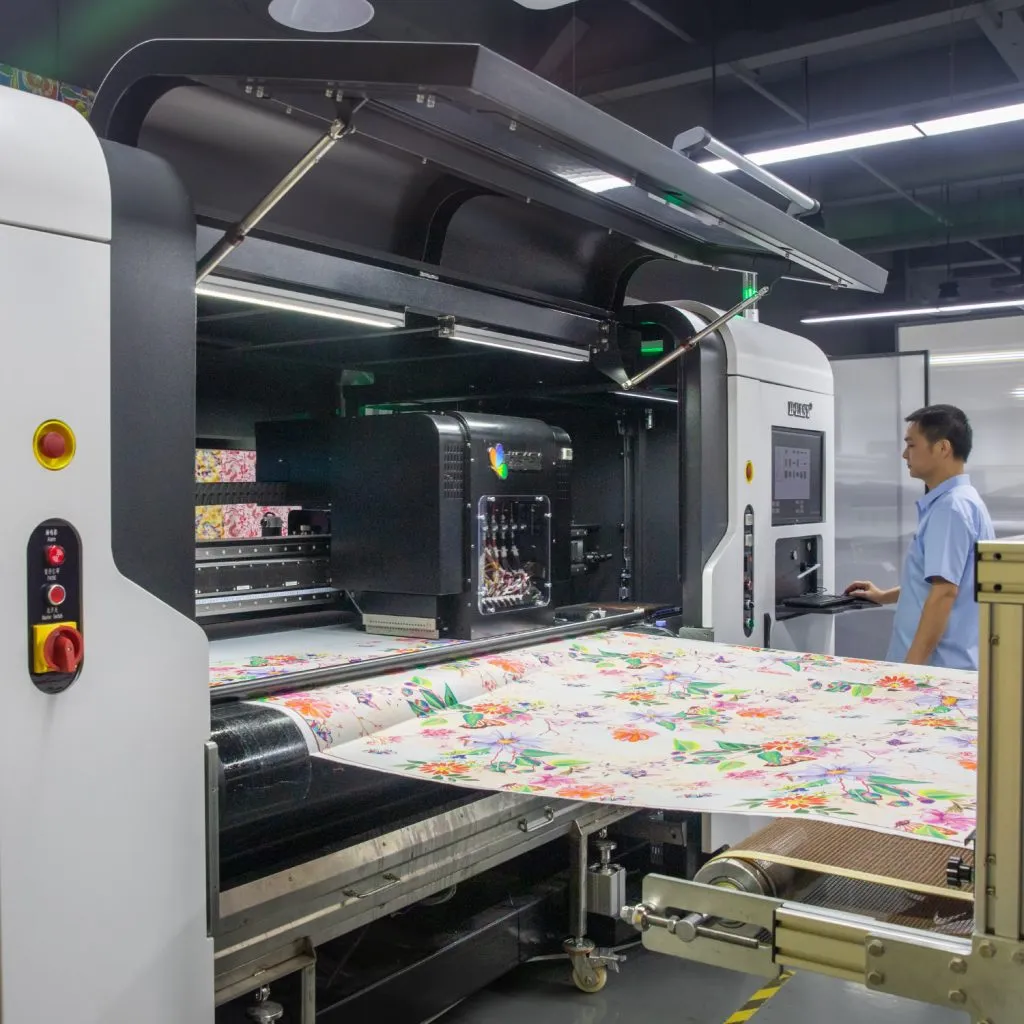
A uniform fastness failure across otherwise even color usually points beyond a single nozzle. A local stripe, edge zone, smear, or head-contact area may begin at the printer but still needs the same final fastness test after correction.
Do not confuse a temporary color shift after maintenance with fastness. The post-cleaning color-difference guide explains how residual fluid, nozzle recovery, ink mixing, and recalibration can change printed color before any care test is performed.
Audit fixation, wash-off, curing, and finishing
The print must receive the exposure required by the qualified chemistry. Temperature labels alone are insufficient; actual fabric exposure can vary with loading, speed, moisture, air or steam distribution, roll build, equipment recovery, and sensor location.
For a dye route, compare the fixed sample with the washed sample. Incomplete fixation and inadequate wash-off can both appear as color loss or staining, but they need different corrections. Review bath loading, water quality, chemical sequence, flow, fabric path, rinsing, and the defined wash endpoint.
For a pigment route, verify binder and pretreatment identity, drying and cure exposure, and the trade-off between surface hold and finished hand. More heat or more binder is not a safe universal correction because the fabric and appearance can be damaged.
Finally, inspect drying and finishing. Heat, tension, softener, mechanical finish, coating, or contamination can alter the surface or the way a specimen responds. Release testing belongs after the final production stage specified by the buyer.
Use the symptom to choose the first comparison
| Observed failure | First comparisons | Evidence that narrows the cause |
|---|---|---|
| Dry rubbing transfer | Surface fibre, pretreatment, ink load, cure or wash-off | Incoming swatch, printed and finished samples, surface inspection |
| Wet rubbing transfer | Fixation, wash-off or binder system, finished surface | Fixed-versus-washed comparison and bath or cure record |
| Shade change after washing | Ink/fibre route, fixation, washing, finishing | Samples before fixation, after fixation, after washing, and final |
| Staining of adjacent material | Unfixed surface color, wash-off, migration | Full test report and staged samples |
| Light test fails while washing passes | Colorant set, shade combination, finish, exposure method | Ink identity, approved colorant route, test conditions |
| Side-to-side fastness difference | Pretreatment, nozzle delivery, feed, fixation or wash distribution | Left-center-right controls and equipment logs |
| One roll interval fails | Material splice, stop/restart, environment, cleaning, recipe or finishing event | Roll map and time-aligned event history |
The table directs the investigation; it does not prove a root cause. Confirm the correction by repeating the approved final test on representative production material.
Run a controlled corrective trial
Quarantine affected material and preserve evidence before cleaning the machine or overwriting settings. Then use a trial matrix that changes one bounded factor at a time where practical:
- reproduce the failure with the retained route;
- select the most likely stage from samples and records;
- define the single change and expected observation;
- print enough control features across the usable width;
- carry every candidate through identical downstream finishing;
- repeat the required test and all other critical acceptance checks;
- document the approved recipe or return to the previous revision.
Watch for a correction that merely moves the defect. Lowering ink can improve rubbing but reduce color; stronger washing can remove loose color but change shade or hand; added cure can improve binder hold but affect fabric. The final decision must satisfy the complete acceptance set.
Build fastness into purchasing and production acceptance
Before approving a printer or process, give the supplier identified production fabric, difficult artwork, required chemistry, finishing route, and named test methods. The acceptance protocol should identify the machine configuration, ink, pretreatment, profile, mode, fixation, wash or cure, final finishing, sample locations, laboratory, and pass/fail rules.
The current R2R textile printer family is an equipment path once that route is defined. Use the contact form to send the fibre and construction, failed property, ink route, pretreatment, profile and mode, finishing records, roll map, staged samples, and complete test report for a bounded troubleshooting review.