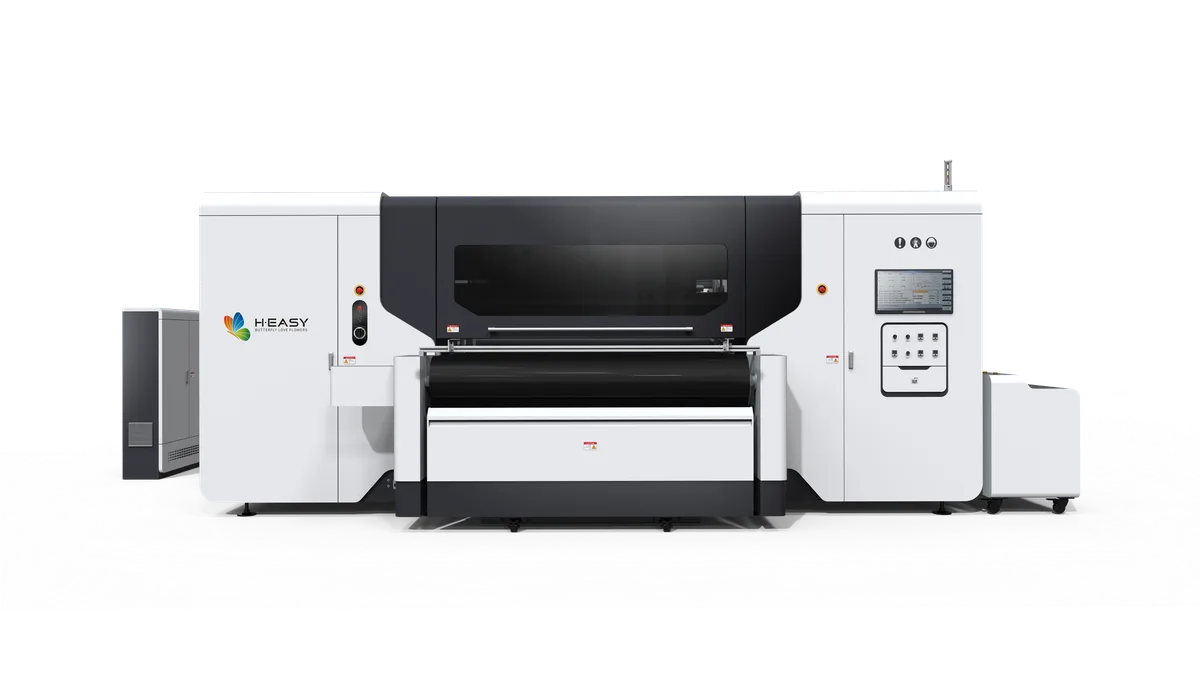
R2R Textile Printer Maintenance Checklist
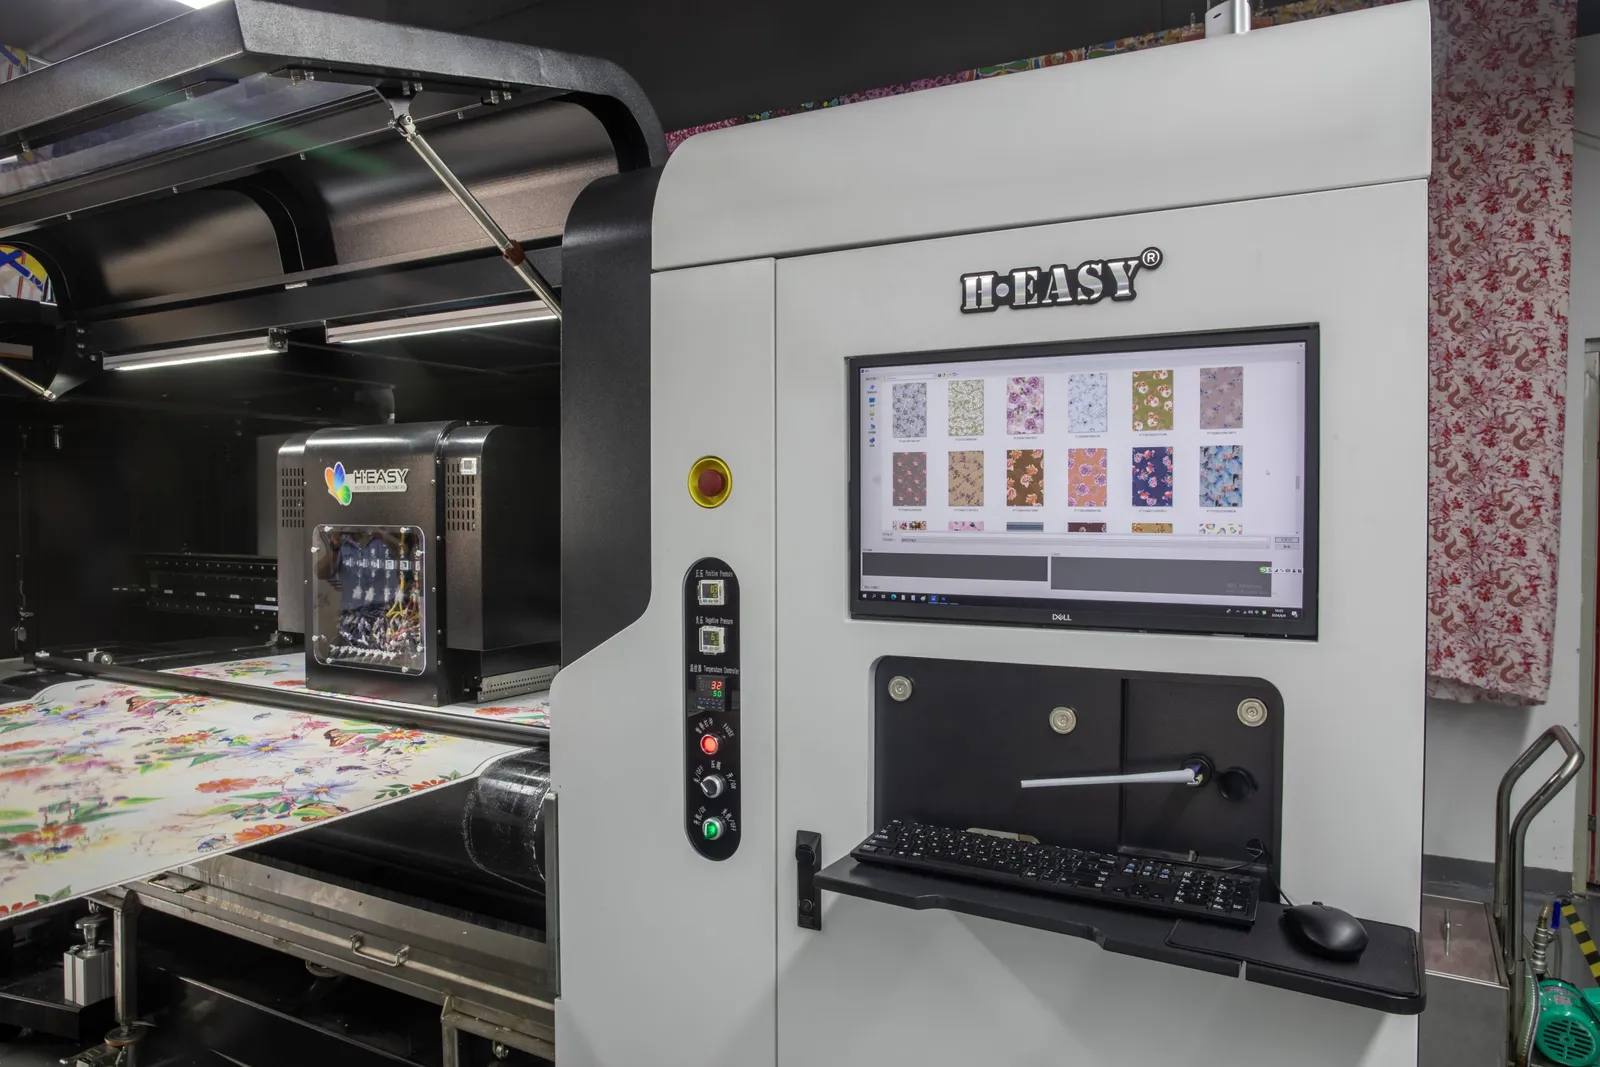
Reliable R2R textile-printer maintenance is a baseline-and-trigger system, not a list of universal temperature, ink-level, or cleaning numbers. Protect the ink path, keep the nozzle pattern known, remove contamination from the fabric and motion paths, and record what changed before a defect appeared.
The exact fluid, interval, lubrication point, and recovery sequence must come from the printer, printhead, and ink documentation. A generic blog cannot see a machine’s pressure design, seal materials, ink chemistry, or service history. What it can provide is a disciplined inspection order that catches small changes before they become printed waste.
Build maintenance around four operating moments
| Moment | Purpose | Evidence to keep |
|---|---|---|
| Before production | Confirm the machine starts from a known-good state | Nozzle pattern and approved reference print |
| Between jobs or rolls | Remove lint and verify the next material will feed safely | Fabric identification and path inspection |
| After an alarm, strike, leak, or abnormal stop | Find the initiating fault before restarting | Fault location, action taken, and restart sample |
| Planned service | Replace wear parts and inspect hidden areas under the approved procedure | Service record and post-service baseline |
This structure is more useful than a memorized calendar. A clean room running a low-lint fabric does not contaminate at the same rate as a line beside cutting or coating work. The visible condition and the equipment schedule should set the maintenance frequency.
Before production: perform a dry walkaround
Start with the printer idle and look before touching anything. Cleaning first can erase the evidence that reveals where a leak, rub, or strike began.
Check that:
- no ink or cleaning fluid is collecting below a line, damper area, cap, waste path, or service station;
- the fabric is centered, tensioned, and clear of the carriage path;
- no raised seam, curl, lint clump, or loose thread can contact a printhead;
- rollers and guides turn freely without adhesive, dried ink, or wrapped fiber;
- guards, covers, extraction, emergency stops, and required interlocks are in their normal operating state;
- ink containers are the correct chemistry for the configured machine and show no separation, contamination, damaged seal, or uncertain label;
- waste collection has enough capacity for the planned job;
- the printer and finishing line are ready for the same ink route and fabric.
Do not top up or mix ink merely to reach a generic mark copied from another machine. Supply systems use different tank, pressure, circulation, and level controls. Follow the specific fill window and handling method for the installed system.
Establish a nozzle and color baseline
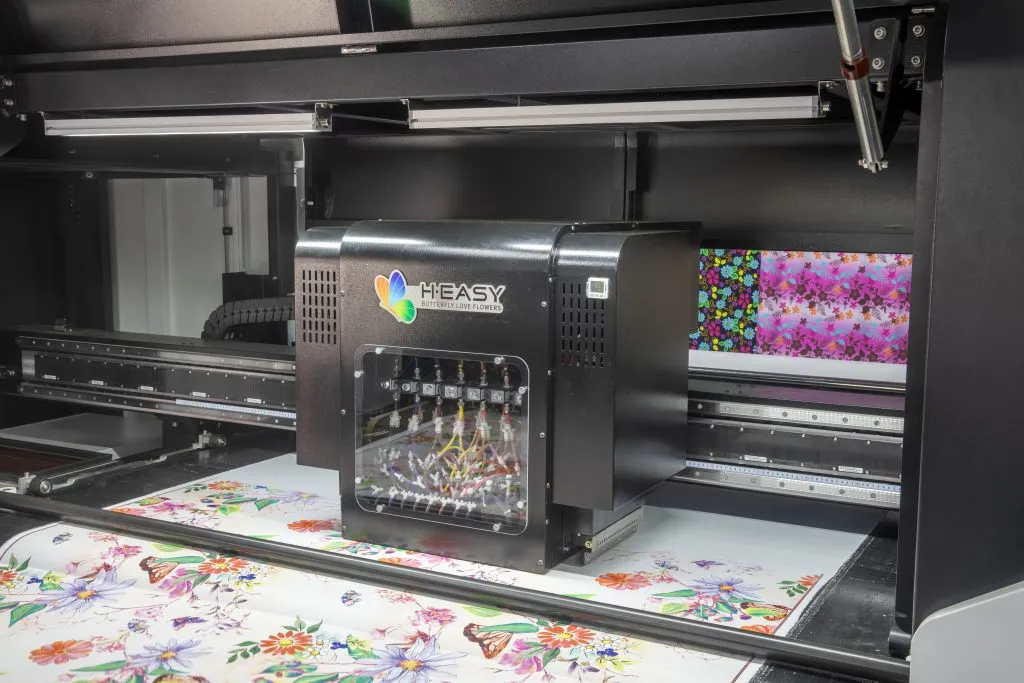
A nozzle check is the first production gate because it separates an ink-delivery fault from a fabric, profile, or finishing fault. Print the check under the documented setup and retain a known-good example. Read it by channel and nozzle region rather than reducing the result to pass or fail.
If a pattern is incomplete:
- confirm the check media and test settings are correct;
- inspect the cap and wiper for dried ink, lint, damage, or poor contact;
- verify the affected channel has stable ink supply and no visible air or leak;
- let the ink system reach its normal operating state if the machine has just started or been serviced;
- use the least aggressive recovery action specified by the manufacturer;
- print another nozzle check and compare the same region.
Escalate because the evidence points to a cause, not because another cleaning cycle is easy to start. Repeated cleaning can consume ink, load the waste system, move contamination around the cap, and temporarily mask a sealing or supply problem.
After any deeper clean, compare density as well as nozzle completeness. The color-shift troubleshooting guide explains why residual fluid, temperature settling, and uneven channel recovery can change the first output after service.
Protect the complete ink path
The printhead is the visible end of a longer system. A maintenance routine must also watch the ink container, circulation, filters, lines, dampers, pressure control, cap, pump, and waste route that support it.
Store and identify ink correctly
Keep every container labeled by ink route, color, batch, and opening state. Use the storage conditions and shelf-life instructions from the ink supplier; do not invent one expiry period for all chemistries. Keep lids and transfer tools clean, and never return removed ink to a fresh container.
If a container shows unexpected settling, skin, gel, contamination, odor, or a damaged seal, isolate it. Mixing an uncertain batch into the machine turns a small material question into an entire ink-path cleaning problem.
Read pressure and flow symptoms
Bubbles, a channel that drops out during heavy coverage, ink collecting at the nozzle plate, or a damper that repeatedly empties are supply clues. They are not all clogs. A leak can draw air without leaking much ink; poor capping can make recovery ineffective; a restricted filter can starve a channel only under load.
Document where the symptom appears and whether it follows one channel, carriage position, print coverage, or machine state. That pattern gives a technician a far better starting point than “the head needs cleaning.”
Use only a cleaning fluid confirmed for the installed ink and wetted materials. The printhead cleaning-solution page summarizes the compatibility questions to resolve before a fluid enters a cap, line, or nozzle plate.
Keep the fabric path lower than the head path
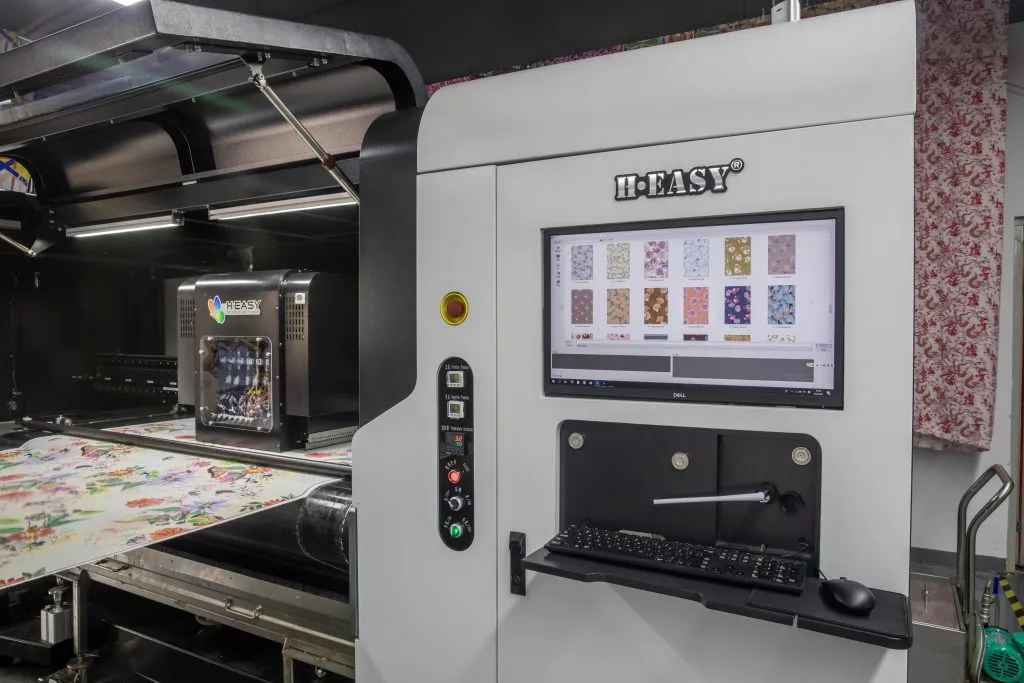
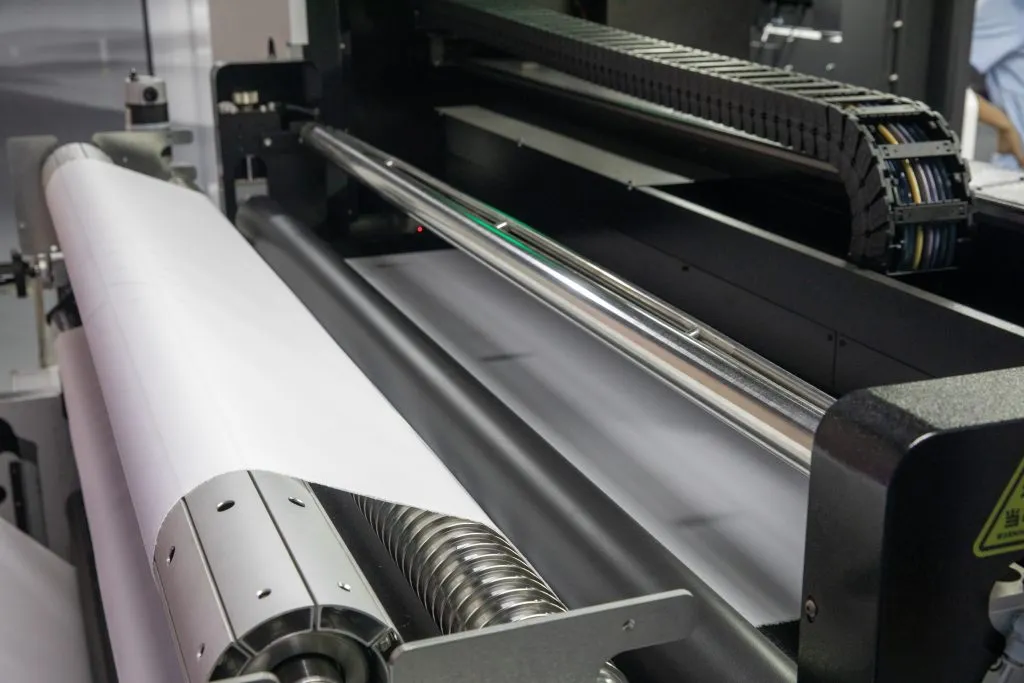
Fabric is part of the machine while it is printing. A raised edge, crease, seam, loose fiber, or incorrect tension can contact the carriage and damage the nozzle plate. Prevention begins before loading.
Inspect the roll for:
- telescoping, crushed edges, loose winding, or an uneven core;
- lint, surface debris, adhesive residue, and protruding threads;
- seams or labels hidden inside the roll;
- curl or stretch that changes under tension;
- coatings or pretreatments that can transfer to rollers or the platen.
Thread the material through the documented path and verify that edge guides, tension control, vacuum, pinch points, and take-up all respond smoothly. Turn the machine by its approved manual or service controls; never pull fabric against a locked drive to “see if it moves.”
After a strike, stop production. Inspect the nozzle plate, carriage area, fabric path, and the point where the material lifted. A successful nozzle check does not prove that a glancing contact caused no mechanical shift or future contamination.
Clean motion references without damaging them
Carriage rails, encoder references, linear guides, bearings, and drive rollers turn commanded movement into drop placement. Contamination can appear as position error, uneven motion, banding, or an alarm, but each surface has its own approved cleaning method.
Use lint-free materials and the agent specified for the part. Do not use the same solvent on an encoder strip, painted cover, rubber roller, and ink-stained metal surface. Do not add oil because a rail looks dry; some assemblies use a specific lubricant and others must remain free of it.
Before wiping a reference surface, note where the contamination sits. A repeat mark at one carriage position, for example, may connect a print defect to one physical location. After cleaning or service, run the alignment and motion checks required by the equipment procedure before releasing production.
Control dust, lint, room changes, and finishing residue
The useful environmental target is the validated range for the configured printer and ink, not a universal number. Track the room because a change in temperature or humidity can move ink behavior, static, drying, fabric size, paper response, and nozzle recovery at the same time.
Keep sources of lint, powder, aerosol, steam, and adhesive mist away from the printer intake and carriage. Separate cutting and brushing operations when practical, and clean floors and nearby surfaces with methods that capture dust instead of throwing it into the air.
Record room conditions beside a fault. “Banding began after the room dried” or “feed movement changed when the roll acclimated” is actionable. “The printer is unreliable” is not.
Treat RIP, network, and power as production systems
A printer can be mechanically healthy and still stop because a job file, storage volume, communication path, or power event is unstable.
- Keep the RIP workstation supported, backed up, and free of unrelated operator software that can interrupt production.
- Do not disable a firewall or security control as a routine printing step. Configure only the documented ports and trusted devices required by the printer workflow.
- Preserve approved profiles, queues, presets, and calibration files with clear revision names.
- Confirm sufficient working storage before processing large jobs, and archive completed production files under the business retention policy.
- Use the electrical supply, grounding, protection, and shutdown method defined for the installed equipment; investigate recurring resets instead of treating them as software faults.
When a data fault repeats, save the job name, RIP message, time, queue, and printer state. Test a known-good file before changing color or motion settings.
Use trigger-based shutdown and restart routines
Normal overnight stoppage, an extended idle period, emergency power loss, head service, and an ink change are different events. Each needs the documented shutdown and restart procedure for the system.
Before an expected stop, leave the head parked and sealed as specified, remove fabric risk from the carriage area, secure ink and waste paths, and record the last good nozzle check. Do not improvise a flush for an unknown idle duration; some systems maintain circulation while others require a controlled preservation procedure.
On restart, inspect before energizing motion, then recover to a complete nozzle baseline and approved reference print. Production begins only after the output matches that evidence.
Read defects as maintenance signatures
| Symptom | First maintenance questions |
|---|---|
| One channel disappears under heavy coverage | Is supply restricted, drawing air, or losing pressure? |
| Defect repeats at one carriage position | Is a rail or encoder reference contaminated at that location? |
| Banding follows one area of the roll | Did fabric height, tension, absorbency, or pretreatment change? |
| Ink or mist collects around the service station | Are the cap, wiper, pump, seal, and waste route clean and intact? |
| Color changes after cleaning | Has fluid cleared, has the head settled, and did every channel recover evenly? |
| Feed drifts after a roll change | Is the roll wound, centered, threaded, and tensioned consistently? |
| Printer resets or jobs stall | Is the fault in power, storage, RIP, network, or the printer itself? |
This order prevents one subsystem from being adjusted to compensate for another. A profile should not hide missing nozzles; tension should not hide a damaged roll; repeated cleaning should not hide a leaking ink path.
The maintenance record is part of the machine
Keep the last known-good nozzle pattern and reference print with the fabric, ink batch, job settings, room condition, maintenance action, and operator note. Photograph a leak or strike location before cleaning it. Record the part or fluid used during service and attach the restart sample.
Over time, that log turns recurring faults into patterns: one fabric supplier, one channel, one room change, one roll position, or one service action. It also lets a technician distinguish a new failure from an old symptom without asking an operator to repeat damaging recovery attempts.
For ink-route-specific preparation and finishing, review the reactive, pigment, and disperse workflow guide. For equipment access and media-handling questions, compare the R2R textile printer platform.
Use the contact form to send the printer configuration, ink route, fabric, nozzle-check image, fault location, and actions already taken. Those details allow the support conversation to begin with evidence instead of a generic recommendation to clean the head again.