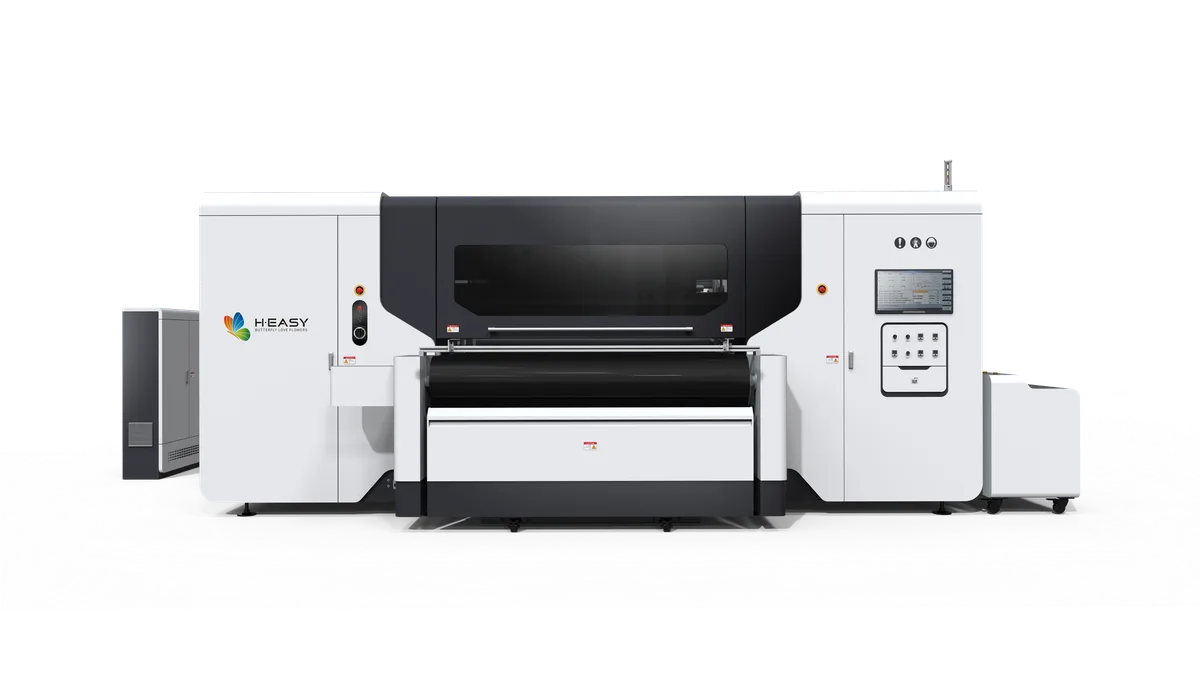
R2R Textile Printer Startup Checklist and Operating Guide
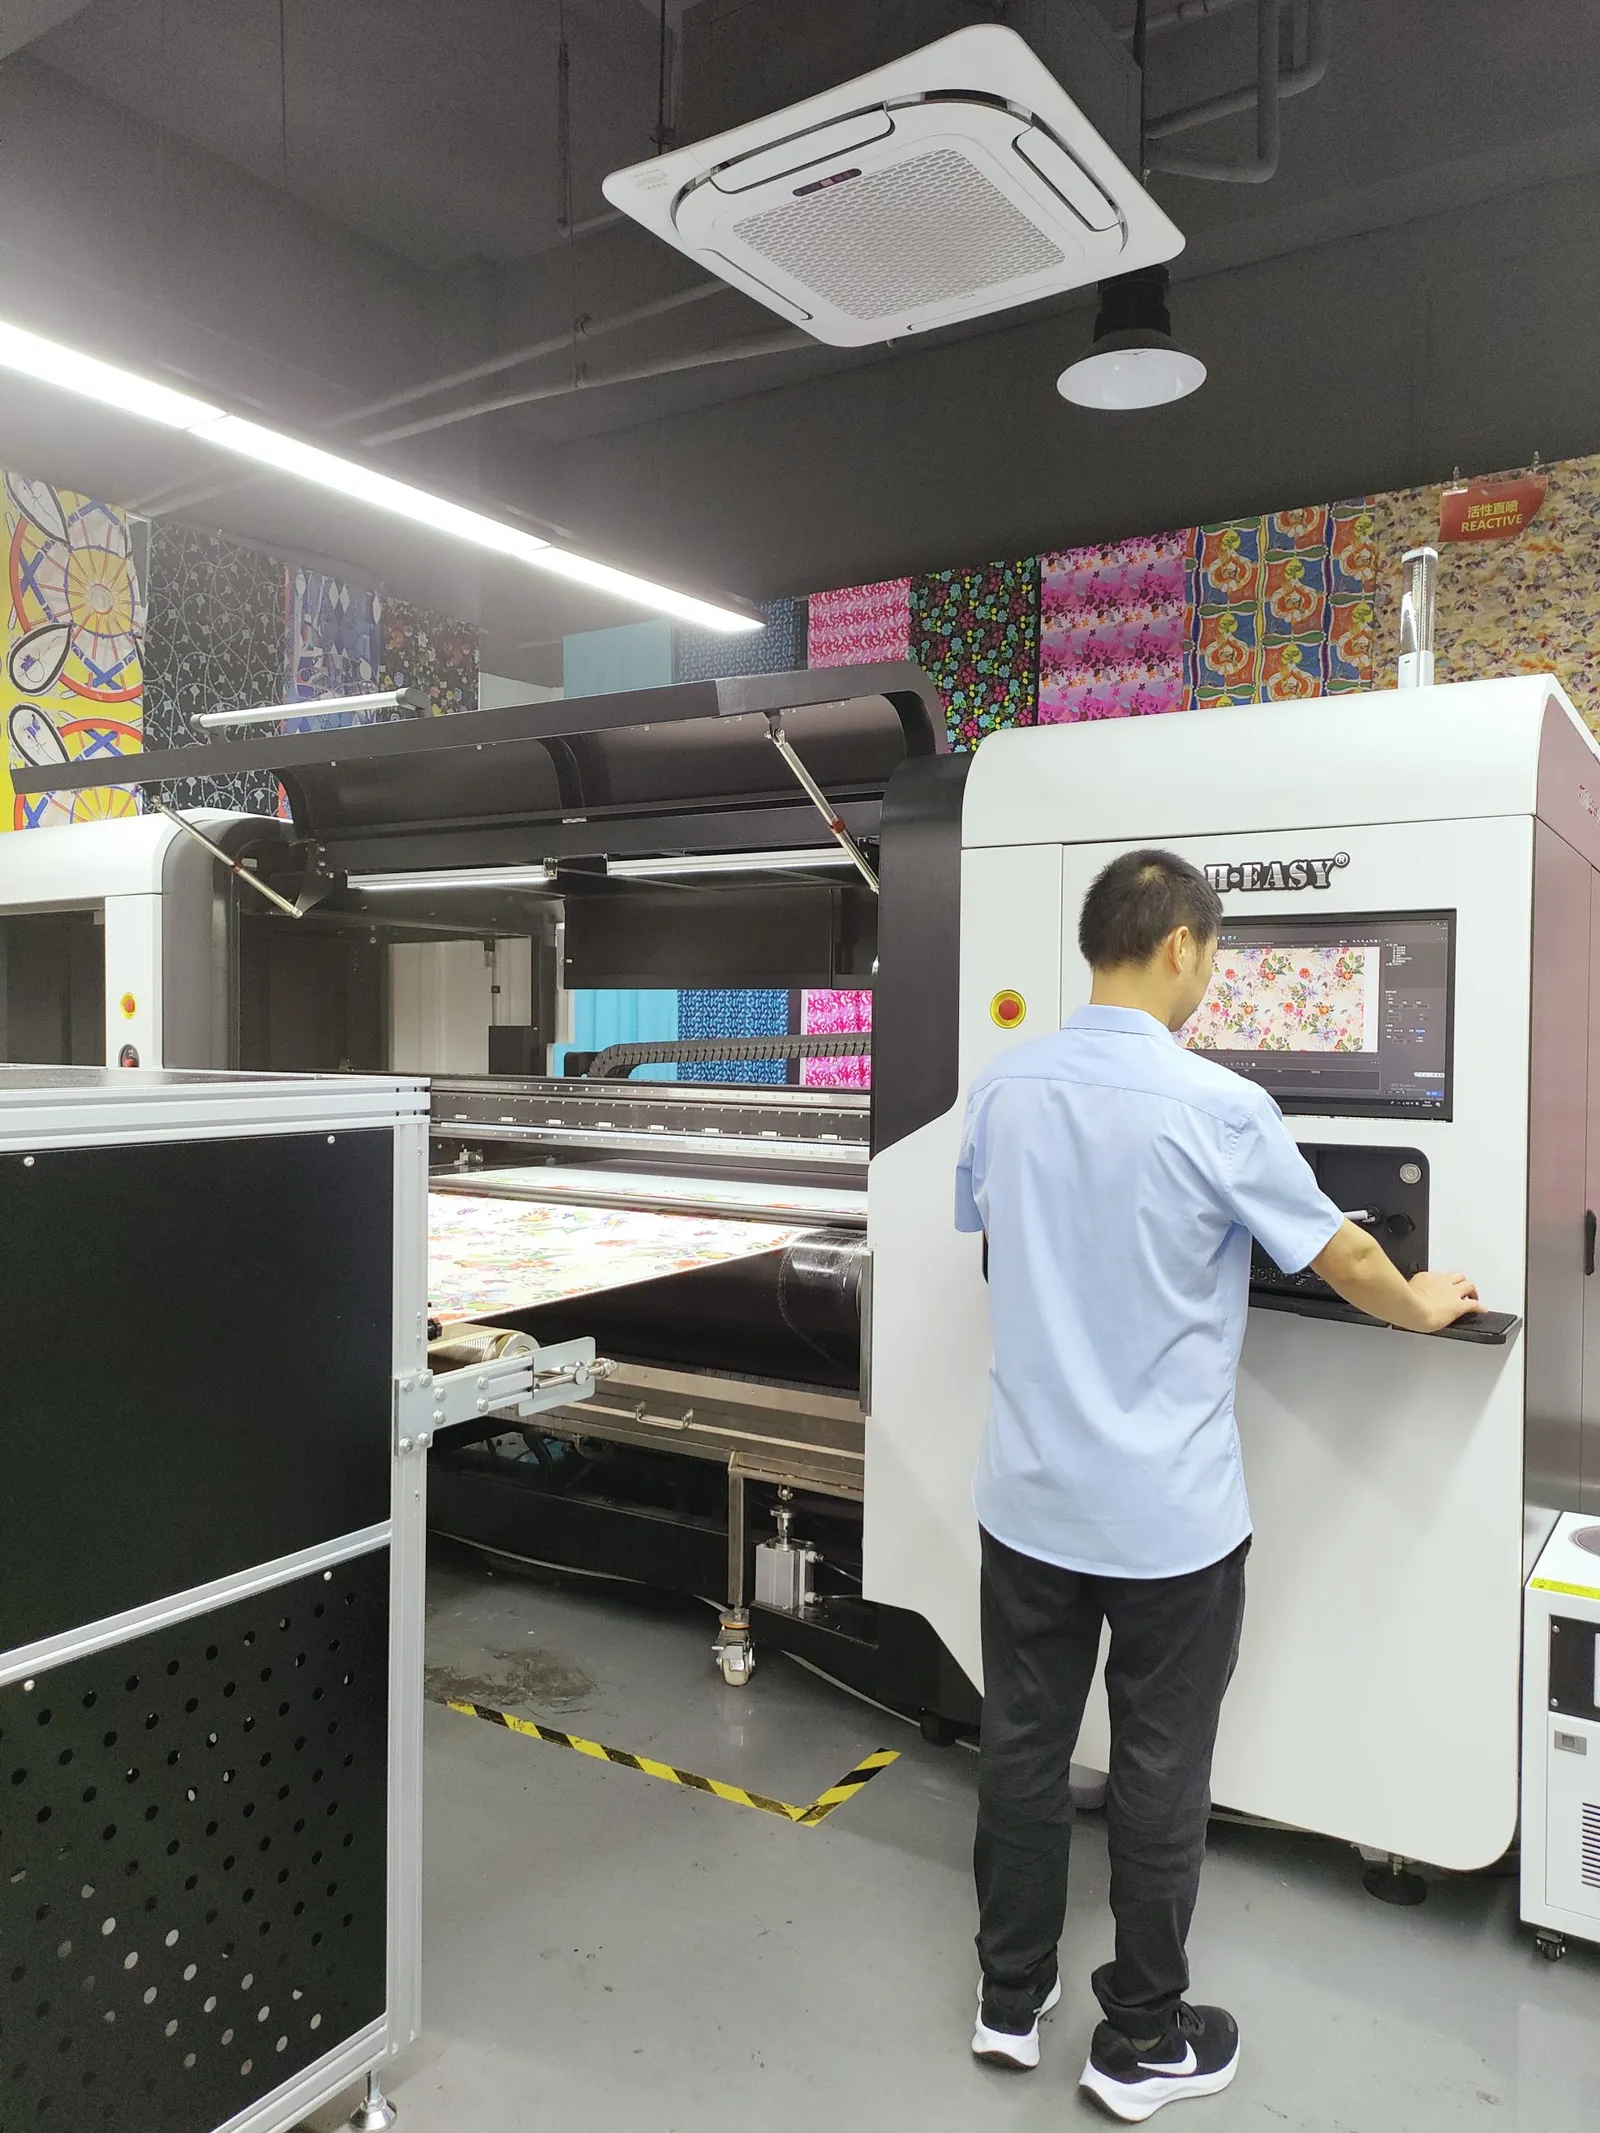
Start an R2R textile printer by proving that the site, ink path, nozzle state, fabric transport, job data and finishing route are ready before production begins. Powering on the machine is only one part of startup. A controlled release also confirms that the material can travel without contact, the file is the approved revision, and the printed fabric can complete its required fixation or curing process.
This checklist is intentionally model-neutral. Follow the machine manual, ink supplier instructions and site safety procedure for the exact switching, interlock and maintenance sequence. Use the steps below to organize those instructions into a repeatable production routine.
Establish a safe operating baseline
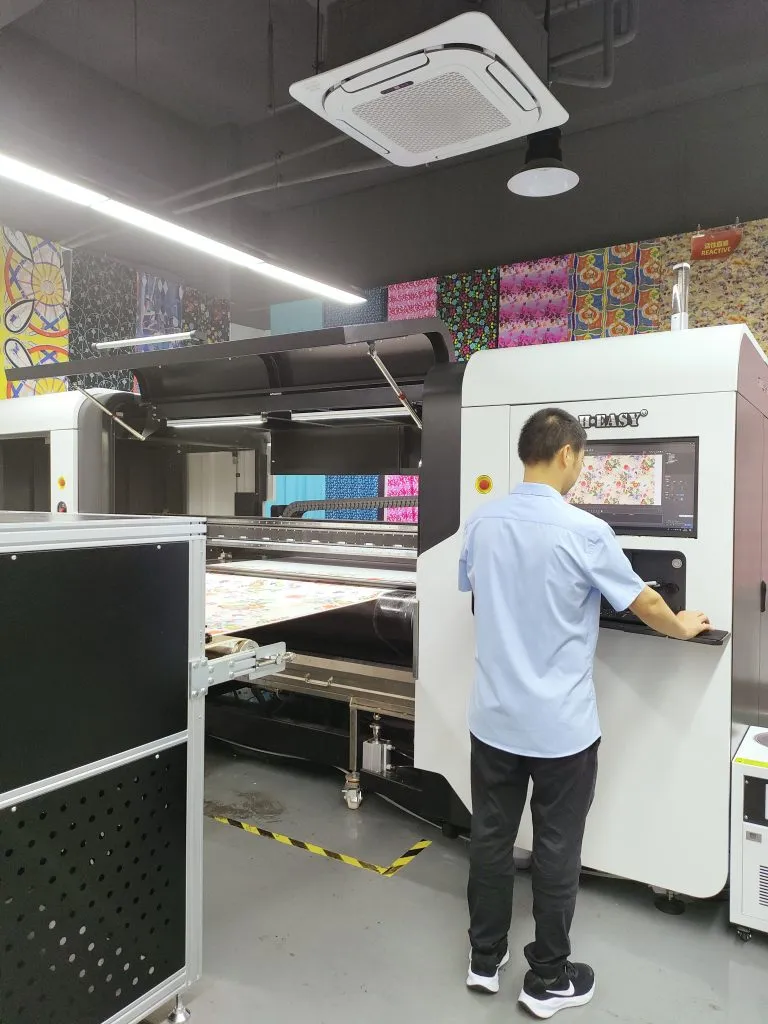
Begin with the production area rather than the control screen. Ventilation, temperature, humidity, dust, floor condition and electrical service can affect both people and print stability. Confirm that the area is clear, guards and access panels are in their operating positions, emergency controls are accessible, and no tools or loose material remain in the fabric path.
Check the utilities against the documented machine configuration. Grounding, power quality, compressed air where fitted, extraction, climate control and network access should be available before startup. An unexplained alarm or an unstable utility is a stop signal, not something to acknowledge repeatedly until the machine runs.
Review the surrounding finishing line at the same time. A printer should not start a roll that the steamer, washer, dryer, curing unit or inspection station cannot receive under the approved route. The fabric process selection guide explains why reactive, disperse, acid and pigment work must be planned as complete processes rather than printer settings alone.
Verify materials and job identity
Match every physical input to the released job record. Confirm the fabric lot, construction, printable face, roll direction, width, pretreatment status and visible condition. Inspect for crushed edges, telescoping, wrinkles, surface contamination, seams and loose fibres that could disturb transport or approach the carriage.
Then verify the ink set, profile, RIP preset, artwork revision, repeat, colorway and intended print mode. A familiar filename is not proof that the file is current. The job record should connect the approved artwork to the fabric, pretreatment, ink and finishing recipe so that an operator does not assemble a plausible but unqualified combination.
Do not substitute transfer paper, fabric, ink or treatment because it appears similar. A change in surface, absorbency, coating or lot condition can alter ink spread, drying, color and transport. Route substitutions through the same sample approval used for a new job.
Inspect the ink path and establish nozzle condition
Before printing, look for leaks, loose connections, abnormal ink level, sediment, air in visible lines and waste-system issues. Confirm that required circulation or agitation systems are operating according to the documented ink route. Never mix cleaning fluid, ink chemistry or maintenance consumables without an approved compatibility instruction.
Run the prescribed nozzle check and retain or record the result. The purpose is not merely to make a test pattern look complete. It establishes whether the machine begins the job from a known jetting state. If a channel is missing or deflecting, follow the approved recovery sequence and identify the cause before changing profiles or artwork. Aggressive repeated cleaning can consume ink and stress components without solving an air leak, damaged cap, contaminated wiper or unsuitable environment.
The R2R maintenance checklist organizes cleaning and inspection by trigger, which helps keep startup recovery separate from unnecessary routine intervention.
Load fabric without creating hidden tension
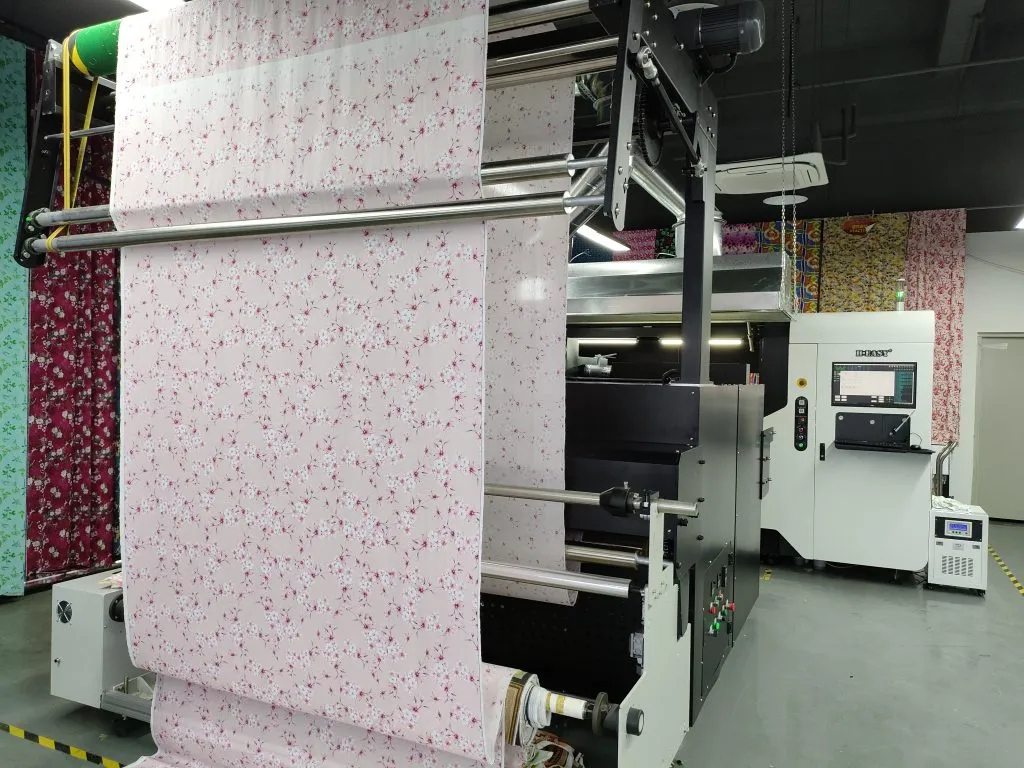
Center the supply roll and thread the material through the documented feed path. Keep the printable face and roll direction correct. Align the edges at the reference points, secure the take-up path, and establish enough tension for stable movement without stretching the fabric.
Advance material while observing the full path. Watch for skew, wrinkles, edge lift, slipping, uneven contact and changes in roll build. A fabric can look straight at the loading point yet drift farther downstream. Stretch and surface hair also affect safe carriage clearance, so use the qualified gap and handling method for the actual construction rather than copying another job.
If the line uses adhesive belt transport, confirm that the belt surface and cleaning system are ready for the fabric. If it uses rollers or another feed method, check that the material is supported without marking or distortion. Stop and rethread when the path is unstable; software compensation cannot cure a mechanical wrinkle or moving edge.
Release a controlled startup sample
Load the approved RIP job and compare the visible settings with the job record. Check orientation, nesting, repeat alignment, printable width and expected finishing direction. Then print a controlled startup sample rather than immediately committing the roll.
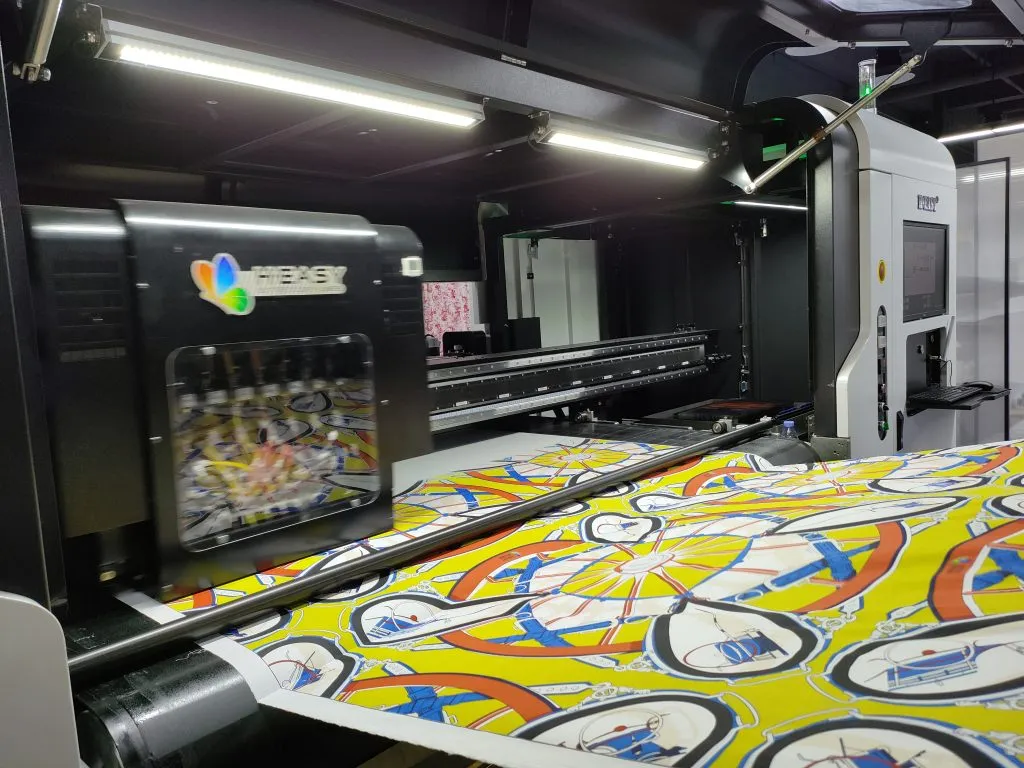
Inspect the sample for nozzle loss, banding, edge definition, repeat joins, fabric movement, head-contact marks and obvious color departure. This is an early process check, not final approval. Freshly printed color and hand can change during fixation, washing, drying or curing. Send the sample through the same downstream route intended for production before accepting it.
Compare the finished sample with the retained standard under defined viewing conditions. If it fails, change one controlled variable at a time and record the result. The color-fastness troubleshooting guide helps separate deposition, fixation, wash-off and finishing causes instead of treating every defect as a printer-speed problem.
Monitor the process while the roll is running
Once production is released, monitor the input roll, feed path, print zone, take-up and downstream handoff. Record nozzle checks, stops, alarms, cleaning, fabric faults, recipe changes and any isolated material. A machine that appears to be running normally can still create repeating defects if the roll begins to skew, tension changes, a nozzle drops out or drying falls behind coverage.
Avoid unrecorded real-time adjustments. A speed, pass, ink-limit, tension or temperature change can affect more than the symptom that prompted it. Pause, identify the likely process stage, make the authorized adjustment and inspect the resulting section before releasing more material.
Control stops, restarts and job handoff
A restart should have its own release check. Mark or isolate the fabric around the stop, confirm the nozzle state and transport condition, and inspect the restart boundary. Do not let an unexamined section disappear into finishing, where tracing the event becomes harder.
At job completion, identify the printed roll, record the produced and isolated sections, preserve the settings and samples, and hand off the required finishing route. Follow the documented shutdown or standby sequence for the expected idle condition. The next operator should receive a machine-state record, not have to infer whether the ink path, fabric path or open job was left in a safe condition.
Use the checklist as a release gate
The most useful startup checklist ends with a decision: release, hold for correction, or escalate. It should name the person responsible for the decision and the evidence they reviewed. That turns a generic operating sequence into a repeatable quality control.
For equipment evaluation, the current R2R textile printer family is the relevant product route. Bring the real fabric, ink process, artwork, finishing equipment and acceptance criteria to a trial so the operating checklist reflects the intended production line rather than an idealized demonstration.