DTF Powder Size and Curing: Separate Melting from Garment Transfer
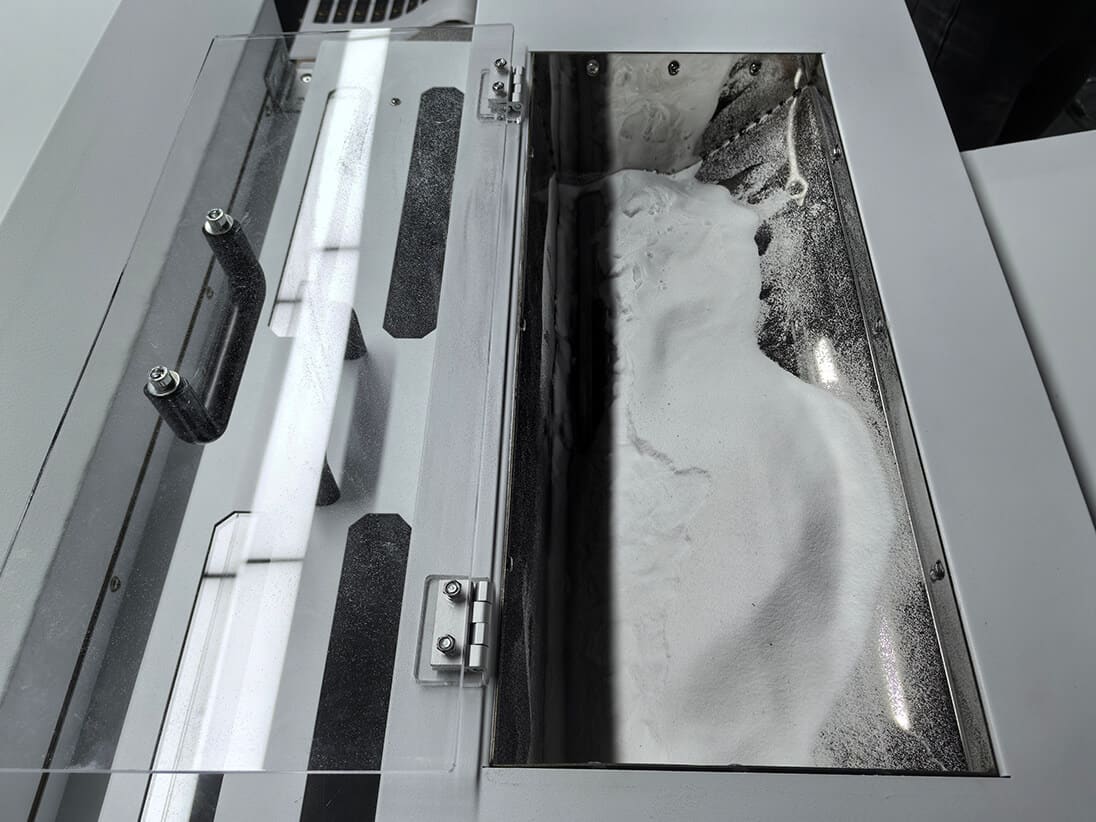
Select DTF adhesive powder for the specified ink, film and garment system, then qualify that combination on finished samples. Keep powder-melting and garment-transfer settings in separate records. A particle-size label or a generic temperature table is not enough information to approve a production process.
Separate powder application, melting and transfer
Roland’s BY2-20 documentation separates these stages:
| Stage | What happens |
|---|---|
| Print and apply powder | Apply powder to wet ink on film; remove excess. |
| Melt | Heat the powdered film. |
| Transfer | Heat-press onto the garment. |
Request written peel and finishing instructions for the actual film.
PrintFactory distinguishes the white layer, which provides an opaque foundation, from the powder, which supplies the adhesive. Record the ink and powder separately when investigating a defect.
What powder-size information should a supplier provide?
Ask for a product name, grade and current technical data sheet, not just a bag described as fine, medium or coarse. If particle size is part of the selection, request the supplier’s stated range and explanation of how it relates to the intended application.
Use this procurement checklist to compare offers:
| Information to request | Decision it supports |
|---|---|
| Powder product, grade, batch and technical data sheet revision | Identifies exactly what will be sampled and ordered |
| Approved ink and film combinations | Defines which material combination the supplier supports |
| Intended garment materials and exclusions | Identifies which buyer jobs need separate trials |
| Application, melting, transfer and peel instructions | Provides a complete process to evaluate |
| Storage, handling and safety data | Supports planning for the actual work area and consumables |
| Test evidence and its conditions | Shows whether a performance claim covers the proposed job |
Do not convert a general size category into a universal temperature, dwell time, pressure or powder dose. If a supplier cannot identify the material or provide application guidance, resolve that gap before approving the sample.
Keep melting and heat-press settings on separate records
Roland’s S-F164/S-Powder guide separates pressure-free melting from garment transfer. Its settings apply only to those named materials.
For your own trial, ask the material supplier to complete two records:
- Melting record: material identities, applicator and heating equipment, supplied setup instructions, actual settings, and observations before garment transfer.
- Transfer record: garment identity, heat press, supplied temperature, dwell and pressure instructions, peel method, and any specified finishing step.
Keep the supplier’s recommended setup separate from what the operator actually used. Record equipment checks using the equipment manufacturer’s method. If the instructions are incomplete or conflict with the garment limits, ask the suppliers to resolve them before processing saleable goods.
Qualify finished samples before approving production
Use a trial sheet that lets another operator reproduce the sample. This is a suggested approval workflow, not a claim that a particular material has passed testing.
- Define the job. Record artwork, print size, garment material, color and lot. Include fine details and solid areas relevant to the buyer’s order.
- Agree acceptance criteria. Decide how to judge appearance, edge attachment, hand feel, movement and garment damage. Agree the care-test method, inspection points and acceptable changes with the buyer.
- Make a documented baseline. Use the supplier’s instructions for the exact materials. Record the RIP setup, powder application, melting, transfer, peeling and finishing.
- Compare controlled alternatives. Label each sample. Change one permitted variable at a time and keep the other conditions fixed, so a result can be traced to the actual change.
- Complete the agreed care test. Confirm any waiting period before washing, then record the washing, drying and inspection conditions. Retain an unwashed control and photographs of the tested samples.
- Approve the documented combination. Retain the selected sample and process record. Reassess relevant changes in material, garment or equipment rather than extending the approval to every future order.
An attractive sample immediately after pressing is not evidence of wash durability. Schedule enough time for the agreed procedure; do not promise that a brief setup session qualifies the finished garment.
Investigate defects before changing the recipe
Use the following checks to organize an investigation. They are questions to resolve, not guaranteed fixes.
| Observation | What to compare with the approved sample |
|---|---|
| Lifting or missing detail | Material identities, powder coverage, transfer record and peel procedure |
| A visible white edge | Artwork and white-layer alignment, followed by powder application and the finished edge |
| An unexpectedly stiff decoration | Artwork coverage, material choice and the complete process record |
| Uneven results across a batch | Material lots, equipment checks and changes in the recorded setup |
| A change after washing | Agreed care procedure and the labeled control sample |
Do not use a fixed choke value, extra heat or increased pressure as a universal repair. Preserve the failed sample and consult the supplier before selecting the next controlled trial. For the distinction between color change and adhesion loss, see how to prevent DTF print fading.
Evaluate the complete equipment configuration
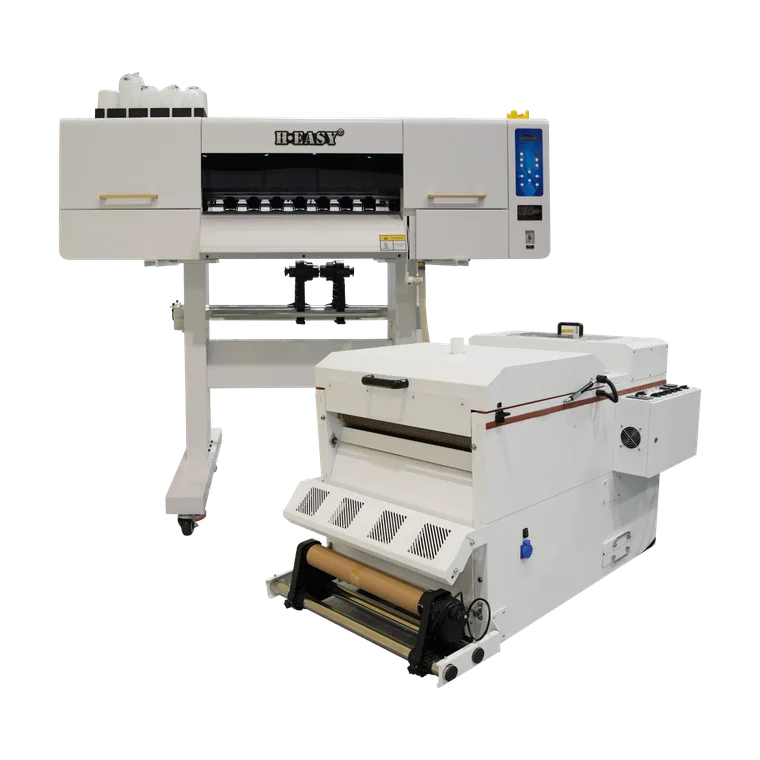
When comparing the HY-401 and HY-702, request the proposed printer, applicator, heating equipment and heat-press configuration in writing. Ask which items are included, which are separate, and which materials were used for the demonstration.
Use the same buyer sample and acceptance criteria for each proposed setup. Record handling steps, cleaning access and observed bottlenecks during the trial. An inline or standalone arrangement alone does not demonstrate repeatability, usable capacity or finished-garment quality.
Related guides
Sources and references
- Recommended Initial Settings For S-F164 Film and S-PowderSeparates melting from garment transfer.
- Direct-to-Film (DTF) Printing – Key Terms for PrintFactory UsersDistinguishes the white layer from the adhesive.
- VersaStudio BY2-20 DTF PrinterSeparates DTF process stages.
Printers matched to this guide