How to Reduce Ink Waste in Digital Textile Printing
Reduce digital textile printing ink waste by controlling rejected output, setup, cleaning, profiles and fabric condition before lowering the ink limit. The ink intentionally placed in an approved design is not the only consumption that matters. Nozzle recovery, duplicate samples, color corrections, head contact, unstable feeding and failed finishing can consume ink without creating sellable fabric.
The useful question is therefore not “Which setting uses the least ink?” It is “Which qualified route produces the required finished result with the least avoidable loss?” That distinction protects color and durability while exposing the process changes that actually improve cost.
Separate required ink laydown from avoidable waste
An artwork with broad dark coverage normally needs a different ink laydown from a sparse light design. That difference is part of the product specification, not automatically waste. Avoidable loss appears when the same approved result could have been produced without extra setup fabric, recovery cleaning, reprinting or rejected output.
Create loss categories that operators can recognize:
- setup and alignment prints;
- nozzle checks and documented maintenance consumption;
- color or profile trials;
- rejected fabric before and after finishing;
- ink used around stops, restarts or head-contact events;
- rework caused by the wrong file, fabric, treatment or process route.
Do not combine all of these into a single unexplained ink variance. The corrective action for artwork coverage is different from the corrective action for repeated nozzle recovery or a roll rejected after fixation.
Measure against sellable finished output
Choose a consistent job boundary. Record the released artwork, fabric lot, pretreatment, ink set, profile, print mode, start and end ink indication, setup material, isolated sections and finished disposition. Use the machine or ink supply measurement only within its documented accuracy and operating method.
Compare consumption with the fabric that passed the required finishing and inspection, not merely the length that left the printer. A route can appear efficient at the print exit and become expensive after weak fixation, color departure, marks or dimensional problems create rejects downstream.
For a wider cost boundary, the pigment printing cost guide shows why ink should be evaluated alongside pretreatment, heat, labor, cleaning, rejects and finishing rather than treated as the whole production cost.
Qualify the profile and mode on the real fabric
The RIP profile controls how source color is converted into the printer’s ink channels and how total ink is limited. A generic profile may place more ink than the fabric can accept, or too little to reach the approved result after finishing. Both errors create waste: excess can spread, dry poorly or wash away, while insufficient laydown can force correction and reprinting.
Build or qualify the profile with the actual fabric, pretreatment, ink, environment, print mode and finishing route. Evaluate neutral balance, dark detail, gradients, saturated colors, edge definition, strike-through where it matters, hand and the required care performance. Keep the approved sample and profile revision with the job.
Do not select a draft, production or quality label only because it sounds economical. Mode names are not comparable evidence across machines. Approve the mode that meets the finished requirement with stable transport and nozzle behavior, then lock it for repeat work.
Preflight artwork before ink reaches fabric
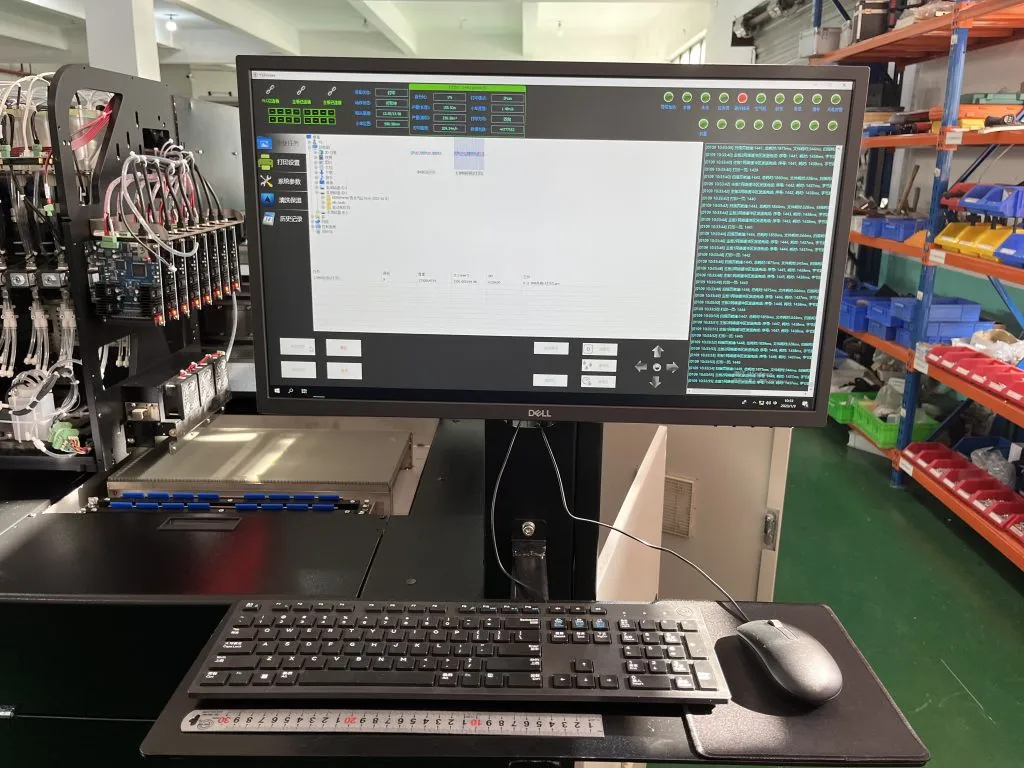
Artwork errors are expensive because the printer can reproduce them consistently across a roll. Confirm file revision, dimensions, repeat join, orientation, colorway, embedded or linked assets and intended rendering before release. Use the RIP preview to check nesting and clipping, but do not treat a screen image as finished-color approval.
Look for hidden objects, unintended backgrounds, duplicate layers and coverage outside the sellable area. Confirm that the job uses the qualified profile and ink set rather than the last settings left in the queue. A controlled preflight reduces the need to stop after printing begins and prevents a correct machine from executing the wrong instructions.
Stabilize nozzles, fabric and environment
Missing or deflected nozzles can trigger banding, color shift and repeated cleaning. Start from a recorded nozzle check and follow the documented recovery sequence only when its trigger is present. If recovery does not work, investigate the cap, wiper, leakage, air, ink condition and room environment instead of repeating the same action indefinitely.
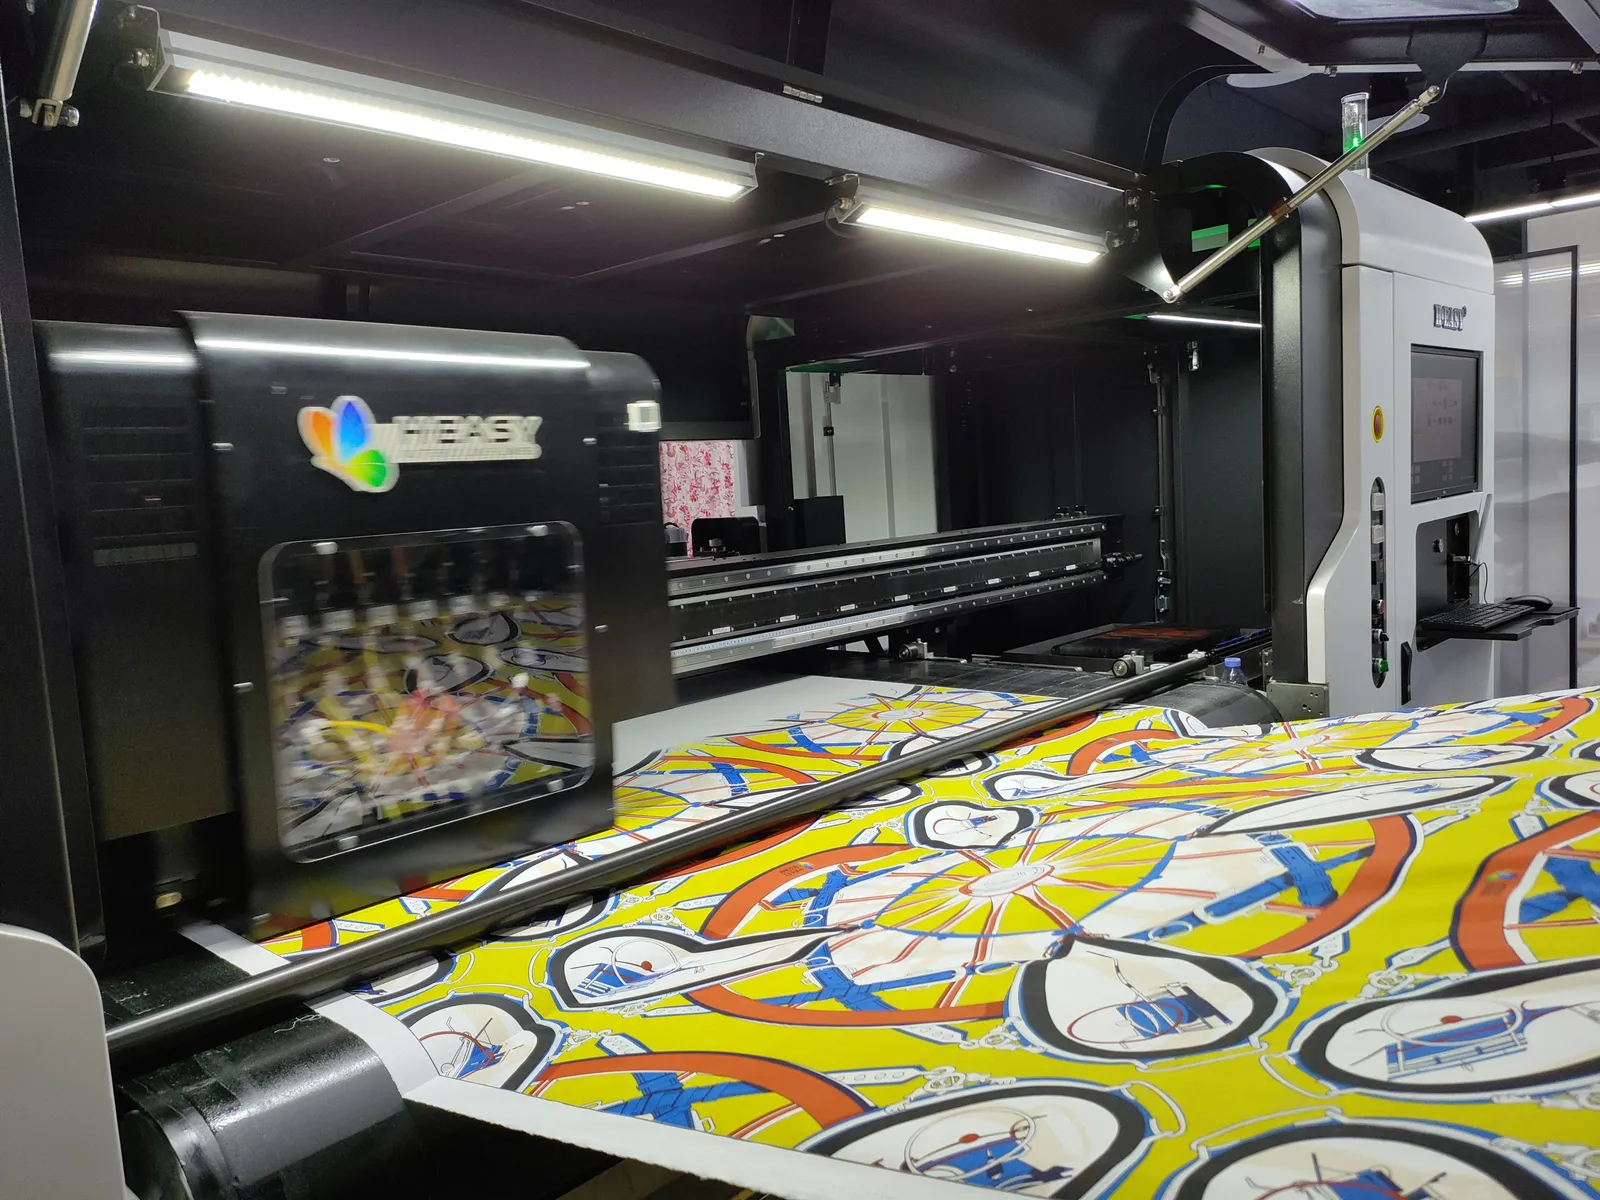
Fabric instability causes a different loss pattern. Wrinkles, skew, stretch, edge lift, loose fibres and an unsuitable gap can cause head contact or visible variation. Inspect and thread the roll correctly, stabilize tension, and match the pretreatment and drying condition to the qualified route. The startup and operating checklist provides a release sequence for these controls.
Clean from evidence, not habit or panic
Preventive care protects the ink path, but unnecessary intervention also uses ink and introduces handling risk. Define which checks occur at startup, at job change, after a stop and when a defect appears. Record the nozzle result before and after recovery so the team can see whether the action worked.
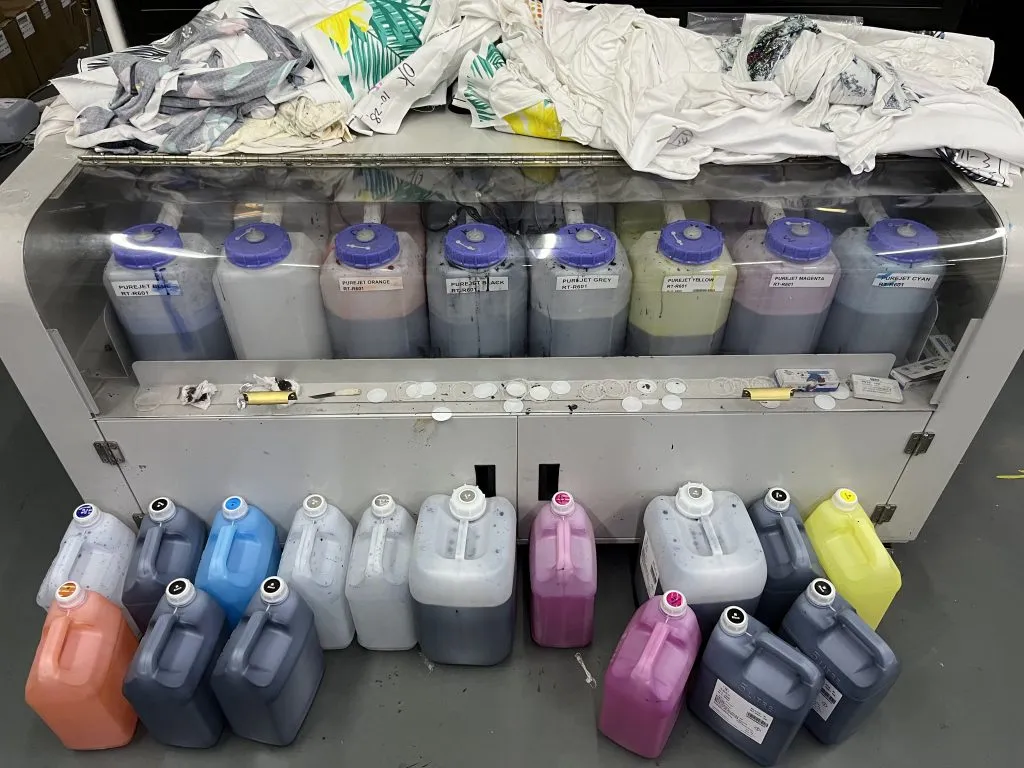
Use only approved cleaning fluid, wipes and procedures for the ink and machine. Do not remove supplies, bypass level alarms, let an industrial ink path run dry, or seal components using consumer-printer advice. Storage, standby and shutdown depend on the installed delivery system and ink chemistry. Follow the equipment and ink supplier instructions for the expected idle condition.
The R2R maintenance checklist helps separate calendar care from event-triggered inspection and defect-driven recovery.
Batch compatible jobs without hiding variation
Grouping work can reduce repeated setup and cleaning when jobs share a qualified fabric, ink, profile, mode and finishing route. It can also create a long run of wrong output if unlike jobs are grouped only for convenience.
Batch by controlled process conditions, not just delivery date. Keep each job’s identity and roll boundaries traceable. If artwork coverage or fabric changes materially, verify that drying, fixation and inspection still have enough capacity before continuing the batch.
Improve one verified loss source at a time
Rank loss by observed impact and frequency, then run a controlled comparison. If profile excess is suspected, qualify a revised limit on the same fabric and through the same finishing route. If cleaning dominates, diagnose why nozzle recovery is frequent. If reprints dominate, strengthen file approval and job release. If rejects appear after finishing, trace the recipe and material lot instead of reducing printer ink blindly.
Keep the accepted result, settings and loss record. The next improvement should begin from that baseline. Over time, this turns ink saving from a collection of shortcuts into a production-control program that protects both margin and finished quality.
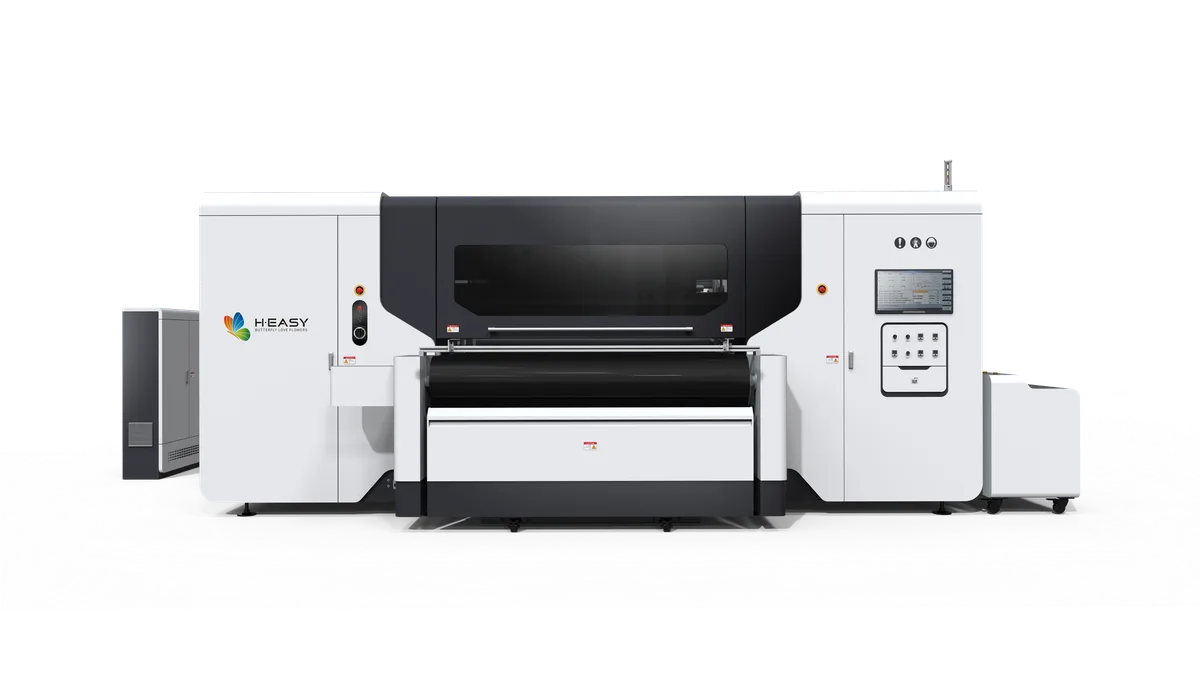
The current R2R textile printer family is the relevant equipment path for a configured trial. Bring the actual fabric, ink route, artwork coverage, finishing equipment and acceptance criteria so ink efficiency can be compared on sellable output rather than a headline mode.