Custom Printed Pajama Production Workflow
Custom printed pajamas are best managed as one traceable workflow from fabric and artwork through sampling, printing, finishing, cutting, sewing, inspection, and packing. A good-looking print roll is not enough. The finished set must also preserve the intended motif scale, color, hand, seam appearance, panel matching, dimensions, and care performance.
The production plan should begin with the garment and buyer requirement rather than a printer specification. Fabric construction, artwork mode, print chemistry, finishing, pattern layout, and sewing sequence all affect the final result.
Define the pajama product before choosing the print route
Create a product brief that connects the material to the finished garment. It should identify the fiber composition and fabric construction, weight and surface character, stretch or recovery needs, opacity, drape, required hand, print side, trims, seam types, care method, and acceptance criteria.
Also define whether the range includes adult, child, coordinated family, or mixed-product sets. Different sizes can change how a motif reads, where a repeat break falls, and how much of the artwork is visible on a collar, cuff, pocket, or trouser leg.
Use the fabric-process selector when fiber compatibility and finishing requirements have not yet been resolved. The print chemistry must be chosen with the actual substrate and production route, not from a generic fabric name.
Decide between repeat printing and engineered placement
Continuous repeats are usually planned for roll printing before cutting. They offer flexibility across garment sizes, but the design still needs a declared repeat direction, motif scale, straight-of-grain orientation, and matching rule. The cutting marker should account for one-way artwork where rotating a pattern piece would make the garment appear inconsistent.
Engineered artwork ties a motif to a specific panel or garment location. It can support deliberate placement at a chest, pocket, cuff, back, or leg, but it requires closer coordination among design, nesting, printing, cutting, and sewing. Registration marks and panel identity must survive the workflow without becoming visible on the finished garment.
For either mode, review seam crossings before approval. A motif that looks balanced on a flat digital mock-up may be interrupted by a placket, piping, pocket, collar roll, elastic casing, or hem.
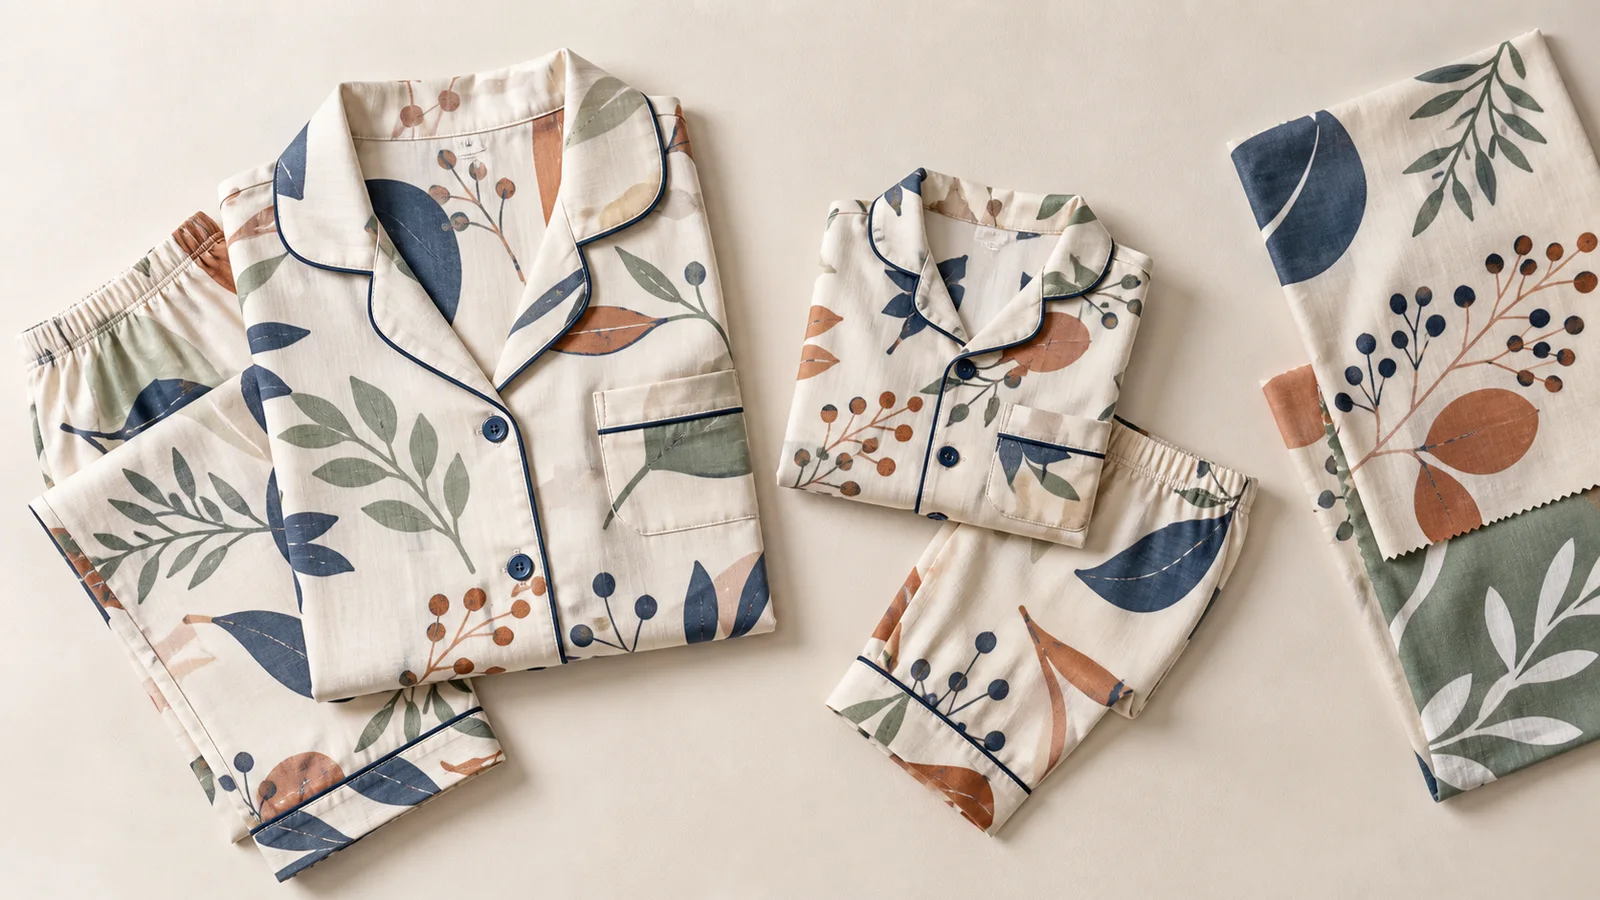
Temporary contextual product visualization generated for this guide; it is not presented as a company production photograph.
Match printing chemistry to fabric and finishing
Cotton pajama programs may evaluate reactive or pigment workflows, while other fiber systems need their own compatible routes. Each choice changes the required pretreatment, ink system, fixation or curing, washing where applicable, drying, finishing, utilities, and process evidence.
Do not approve color from the printer output alone. The sample must complete the same finishing sequence planned for bulk production because downstream heat, moisture, washing, tension, and finishing agents can change shade, hand, width, and dimensions.
The R2R ink-workflow guide helps separate the chemistry routes and their post-treatment boundaries. The factory should validate the selected route with its ink and chemical suppliers, equipment documentation, and buyer-specified test methods.
Build a production-representative sample set
Start with printed and fully finished fabric on the intended construction. Then make a sewn sample that includes the areas most likely to reveal a problem: placket, collar, pocket, piping, elastic zone, cuffs, hems, and matched seams. Check the garment both laid flat and worn on an appropriate form or fit model according to the buyer’s normal approval practice.
The approval pack should retain:
- the controlled artwork, scale, repeat, direction, and color target;
- unprinted fabric and fully finished printed references;
- the approved garment pattern and construction revision;
- the print, pretreatment, fixation, washing, drying, and finishing records;
- trim, thread, piping, button, and packaging references;
- the inspection method and disposition for any allowed variation;
- an identified sewn sample for each construction that materially changes how the artwork appears.
The digital textile sampling workflow provides a practical structure for connecting these references to production settings and release decisions.
Control fabric lots through cutting and sewing
Color and surface appearance can change between fabric or process lots. Mark roll identity, print lot, finishing lot, shade group, and any quarantined interval before cutting. Keep panel bundles traceable so components from visibly different lots are not combined without a documented decision.
Define where motif matching is required and where natural repeat variation is acceptable. Matching every seam may create unnecessary material loss, while leaving every seam uncontrolled can produce a poor finished presentation. The buyer and factory should agree on priority areas before marker making.
During sewing, protect printed faces from oil, adhesive, abrasion, steam marks, and dirty work surfaces. Pressing and shaping conditions should be qualified on the printed fabric so the garment team does not undo the approved hand or color.
Inspect the garment, not only the printed fabric
Fabric inspection finds print defects, but garment inspection reveals how those defects interact with cutting and assembly. A release plan should cover:
| Stage | What to verify |
|---|---|
| Incoming fabric | Identity, lot, construction, base shade, finish, defects |
| Printed roll | Color, repeat, direction, sharpness, bands, marks, usable area |
| Finished fabric | Hand, shade, width, skew, surface, dimensional behavior |
| Cut bundles | Panel identity, orientation, motif rule, lot separation |
| Sewn garment | Fit, seam appearance, alignment, trim, pressing, visible defects |
| Packed set | Correct components, size identity, presentation, traceability |
Use the digital textile quality-inspection checklist to connect incoming, in-process, and final evidence. Any test method or tolerance should come from the buyer’s specification, applicable requirement, or a validated internal standard rather than a copied universal limit.
Send suppliers a complete sampling brief
A useful inquiry names the fabric construction, product range, artwork mode, repeat and orientation rules, desired hand, color reference, finishing route, existing equipment, sample quantity category, and intended inspection method. Include garment drawings or pattern information for critical placements instead of relying on a flat artwork file alone.
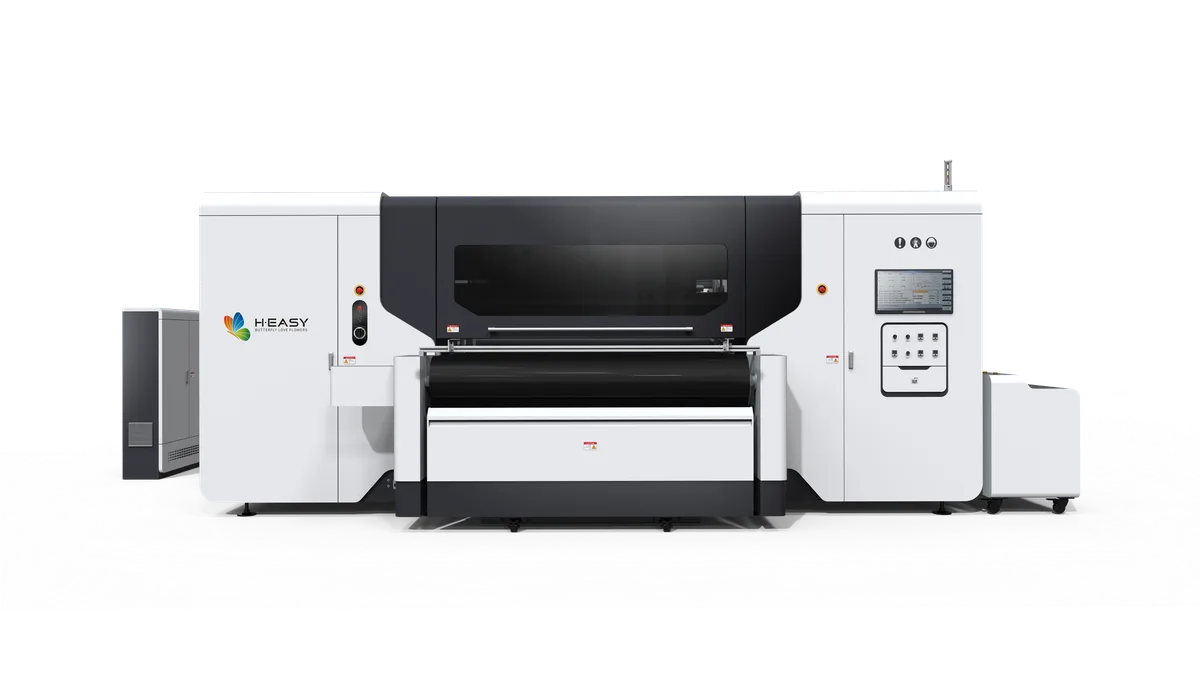
The current R2R textile printer family is one equipment path for qualified roll-printing workflows. It is not asserted as a replacement for any discontinued model, and the configuration must be reviewed together with fabric handling, pretreatment, fixation or curing, washing where required, drying, finishing, and production width. Use the contact form to share the fabric, artwork, garment construction, and existing process for a complete workflow review.